


Description
Only Available from TheProwlerStore.com
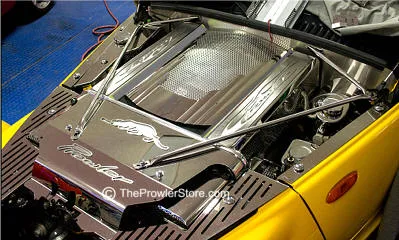
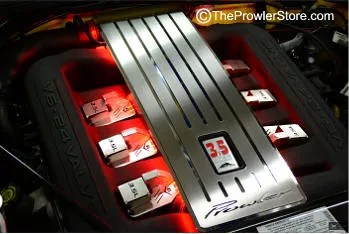
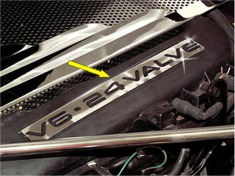
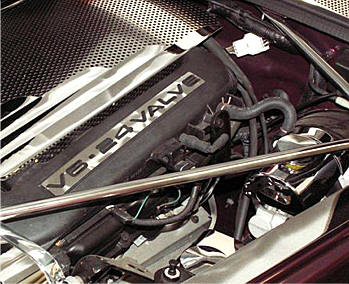
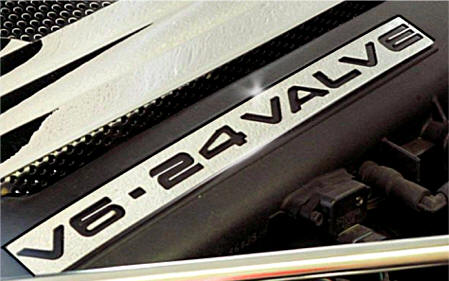
Heavy-duty, high-polished stainless-steel plate fits over the raised Prowler engine letters on your valve covers. Includes two cut-out plates—one for each side of the engine. Laser cut to fit perfectly. These bright, shiny pieces really stand out! What a difference!
Will not rust, corrode, or stain and will keep its luster for the life of your Prowler. Mounted with professional 3M automotive tape, pre-cut on the back of each letter. Comes with a pen-type liquid promoter to form a tight bond. It will hold up to all engine heat and last the life of your car.
INSTRUCTIONS
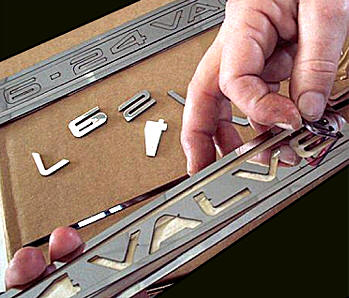
Parts Included: 2 x Plates with letters punched in them, 1 x Promoter packet.
- Wash the valve covers where your engine letters are with soap and water. Let dry, then rewash with thinner to remove any oils that may be on the engine letters. This step is important—stainless steel letters will not bond well with any oil on the surface.
- Remove one of your metal letter plates from the plastic. Push out the letters (they should come out easily). You may use a tiny file to remove any small burrs if needed. Be careful not to scratch the surface of the letter plate.
- Without removing the backing liner, hold the letter plate over the engine letters and set it down into position on top of them. The engine letters should pop through the holes in the metal plate. This test fit will help you get comfortable with the placement. You may need to very slightly bend the plate to fit flush with the valve cover surface.
- Take the promoter packet. If it is a packet, rip it open to expose the moist wipe inside. If it is a pen, snap it in the center and press down several times until the tip is moist. Wipe the promoter over the entire area where your new plate will stick.
- Peel the backing off the metal letter plate. It is now ready to stick.
- Carefully position the letter plate over your engine letters. Slowly guide it down until all the engine letters have popped through the holes.
- Press down firmly over the entire surface of the plate and let it set for 12 hours.
- Repeat this process for the other side’s letter plate.