


Description
Only available at TheProwlerStore.com
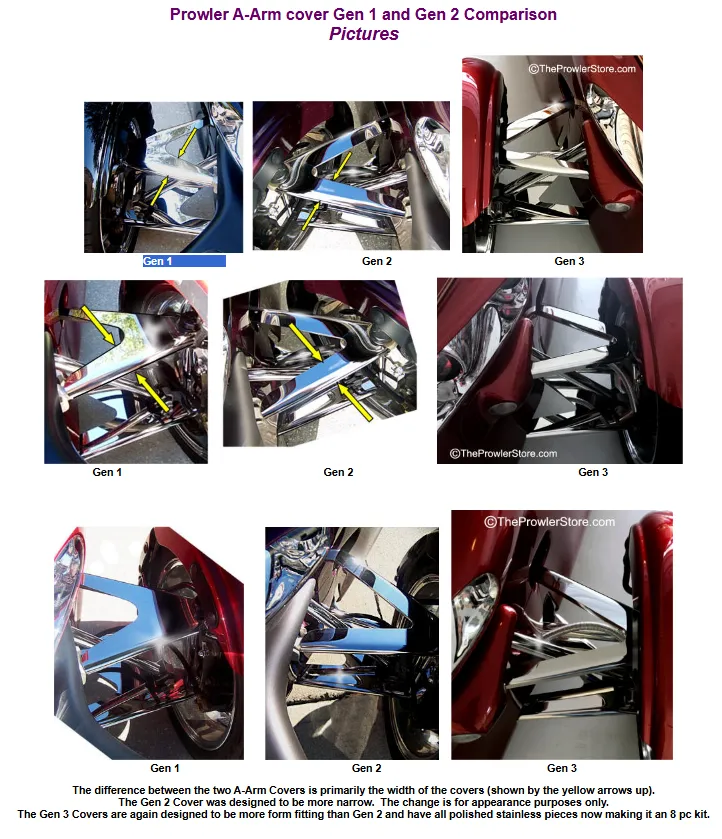
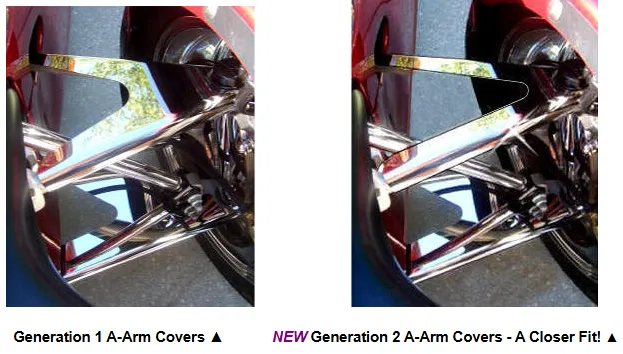
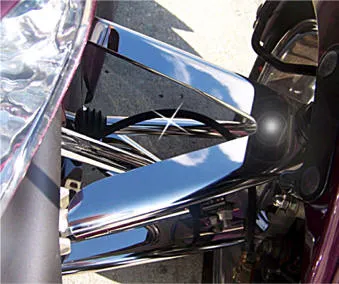
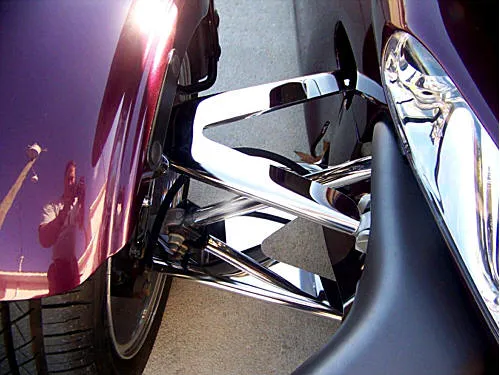
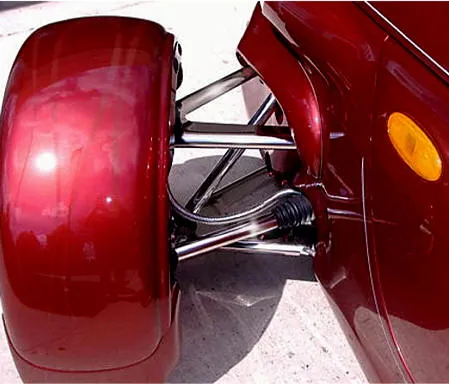
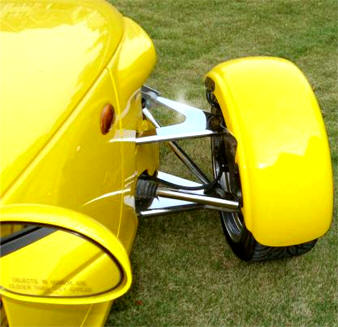
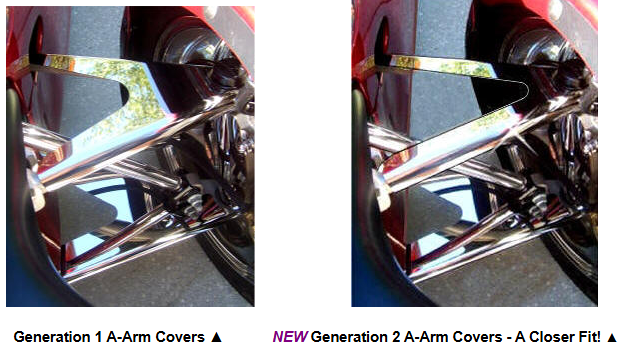
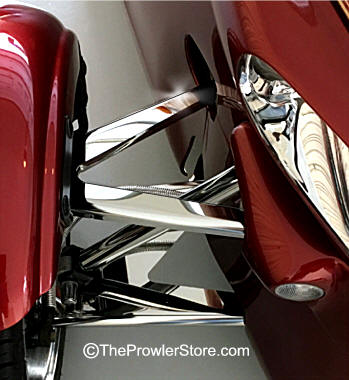
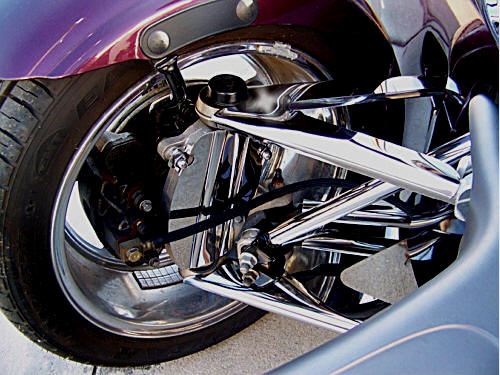
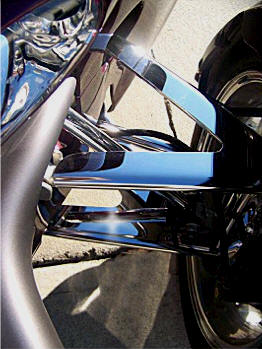
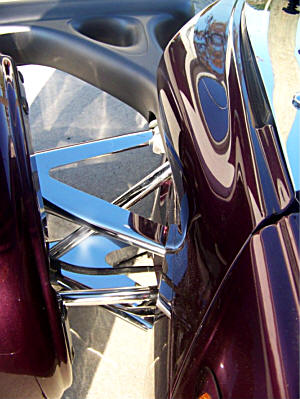
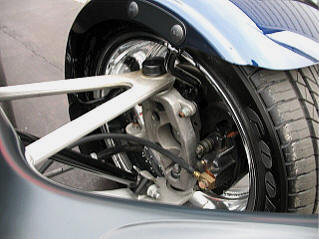
High-polished, heavy-gauge stainless steel (S.S.). Extremely high-polished (looks like chrome!) — left and right pieces. This version has a more slender appearance than the Gen 2, and all pieces are now made of high-polished stainless steel.
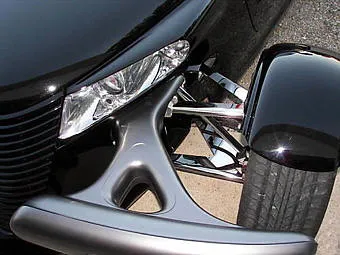
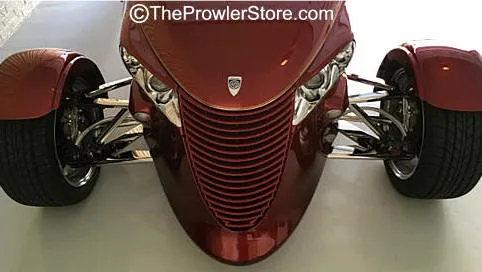
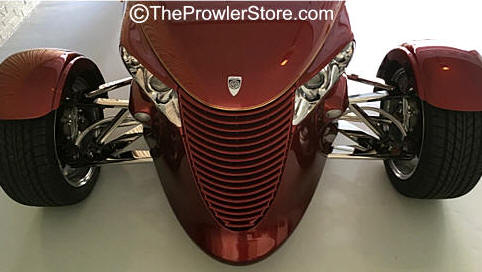
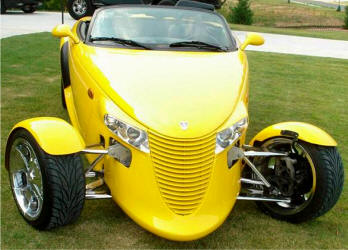
WOW, what a difference! Makes your Prowler stand out!
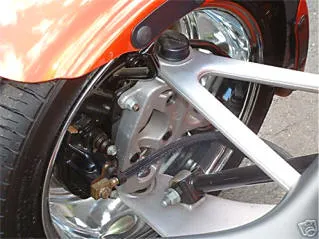
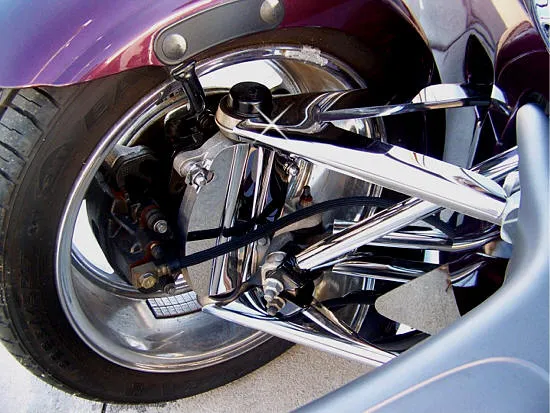
This is the only kit in the world that fits over your front-end assemblies. It looks as if it was chromed for $2400!
Easy to install and remove — fits over existing parts. You do not remove any parts. Will not rust, corrode, stain, or fade.
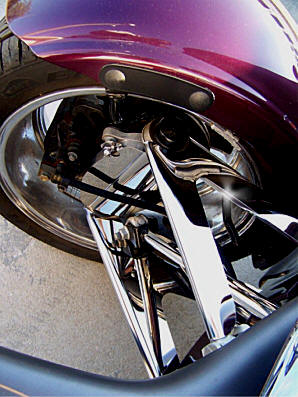
This item contains:
- 2 – Top A-Arm S.S. covers (one for each wheel assembly)
- 2 – Bottom A-Arm S.S. covers (one for each wheel assembly)
- 2 – Bottom Support Arm S.S. covers (one for each wheel assembly)
- 2 – Top Support Arm S.S. covers (one for each wheel assembly)
These parts may be removed without any damage to your original car parts. This will not come off on the road, even with vibration or potholes, if installed properly.
NOTE: To complete the Prowler A-Arm kit, include the optional Item# ACC-822023 Wheel Spindle Cap. See the product directly below this one.
PROWLER 6-pc FRONT CONTROL A-ARM Kit ©
PART # ACC-822025 — Generation 2 — INSTALLATION INSTRUCTIONS
Parts Included:
2 × Large A-Arm Covers (L & R);
2 × Small A-Arm Covers (L & R);
4 × Stainless Steel Slit Tubes;
2 × Chrome Vinyl Molding Strips;
1 × Packet or Pen of Promoter;
1 × Tube of Clear Silicone.
IMPORTANT: Read ALL instructions first before starting.
All metal pieces have a clear protective liner — do not remove until installation is complete.
Before permanently mounting, check the fit of the upper and lower A-Arm Covers. You may mold or slightly bend the covers by hand to achieve a custom fit. Once installed, the A-Arm covers will have about 1/4 inch gap along each edge. For specific engineering reasons, it is not designed to fit snugly.
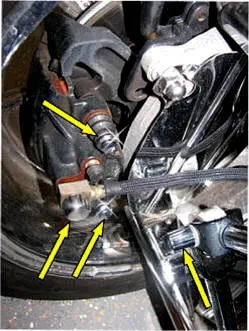
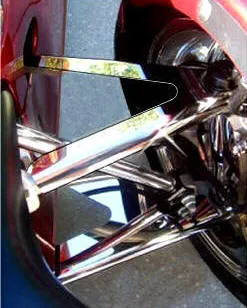
- Before you begin installation of the Upper A-Arm cover, you must first apply the Chrome Trim Strip (provided) to the inner side of the actual A-Arm itself (see image below with yellow arrows). First, clean the area thoroughly with rubbing alcohol. Next, apply a swipe of Adhesive Promoter (small foil packet provided) where you are going to mount the vinyl molding. Remove the red release liner from the back of the Chrome Trim Strip and mount it inside the top inner A-Arm. Press it firmly in place. Make sure the top of the Trim Strip is flush with the top of the A-Arm (parallel to the ground). Do not mount the chrome molding strip too high, where it might interfere with the A-Arm cover once you mount it on top. This vinyl molding will create a nice chrome finish on the inner side of the A-Arm. Do this to the TOP A-Arm on each side of the car only.
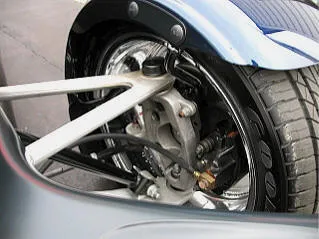
- Thoroughly clean A-Arms with soap and water to remove any dirt and grime. Then scrub everything down with rubbing alcohol. Let it dry completely and wipe off any residue with a clean cloth.
Start with the Lower A-Arm Covers: Your new covers are designed to set into position, although depending on the Prowler and the individual part, the fit may be a little loose. This is normal — simply center the piece on the A-Arm. There will be a small gap between the edge of the cover and the A-Arm itself.