


Description
Only available at TheProwlerStore.com
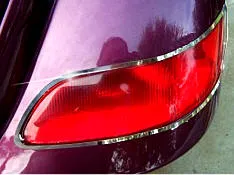
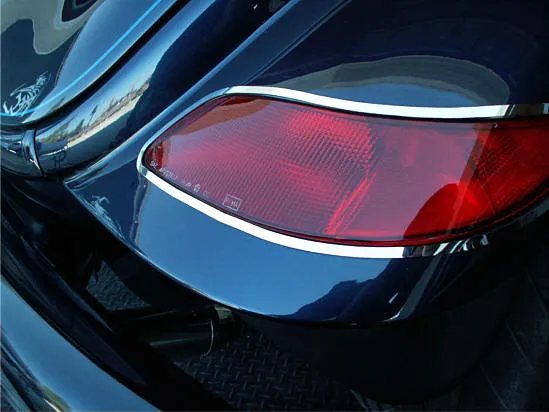
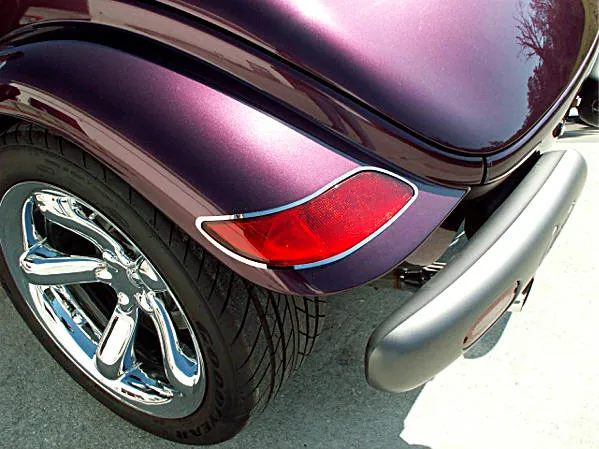
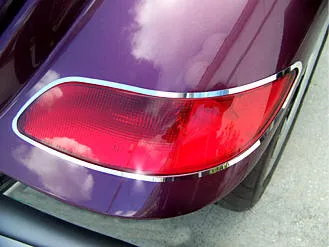
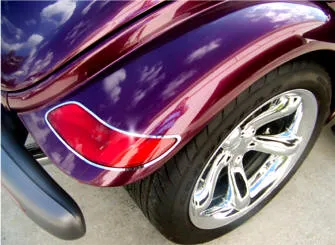
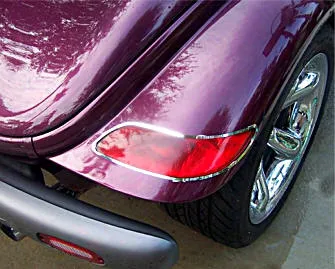
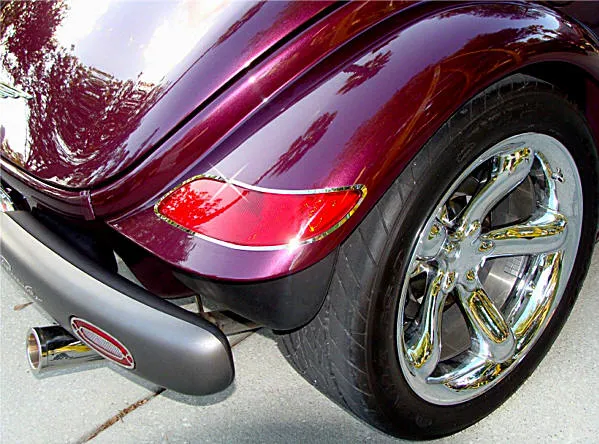
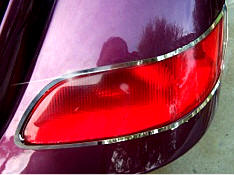
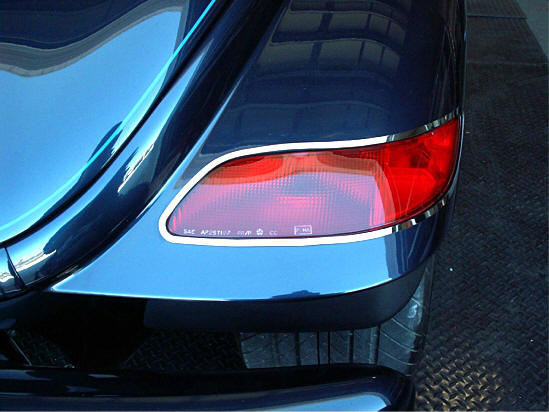
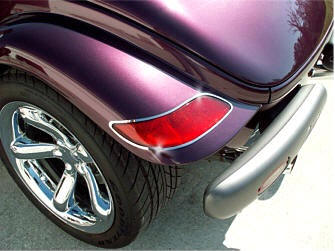
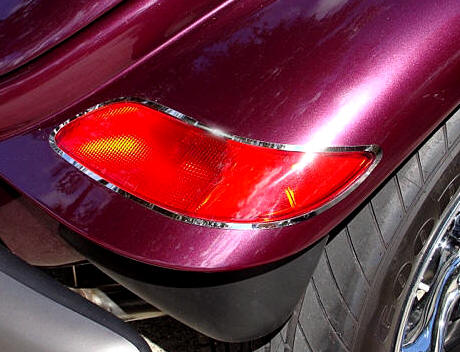
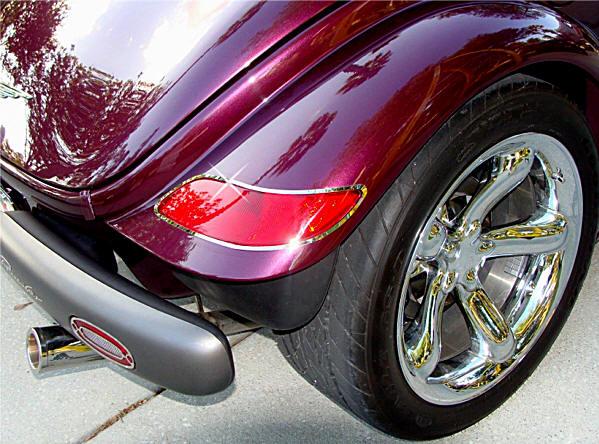
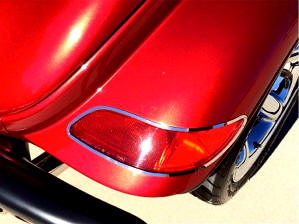
High-polished stainless steel trim fits around the edge of your taillights, adding a dressy appearance to your back end. These trim rings are a peel-and-stick product. Trim pieces arrive flat; you bend them to shape.
Made of pure bright, shiny, heavy-gauge stainless steel with a high-polished finish. Will not fade, stain, or rust. Everything you need is included. Easy to install. It will not come off on the road, even from vibration or potholes.
INSTALLATION INSTRUCTIONS
Parts Included: 2 x Polished Tail-Light Trim Pieces, 1 x Adhesive Promoter Pen
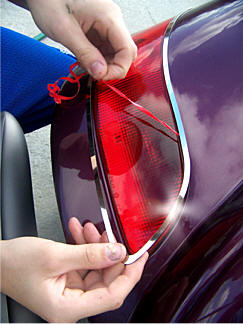
NOTE: Do not remove the clear plastic film on top of the trim rings or the red liner on the backside of the trim rings until instructed to do so.
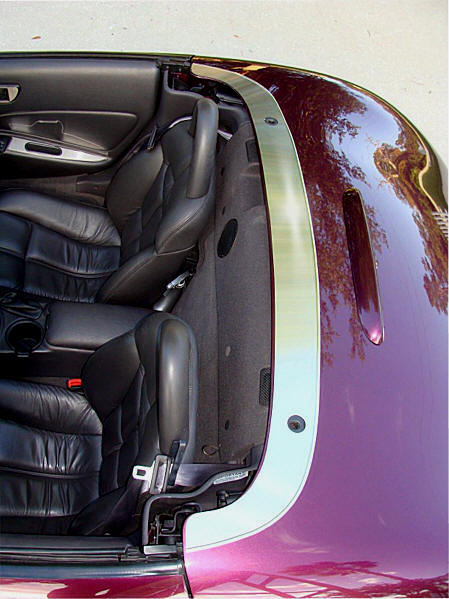
- Clean the area around your taillights thoroughly with soap and water to remove any dirt. Once dry, wipe around each taillight with household isopropyl alcohol. Let dry.
- Take the passenger trim piece and hold it up against the passenger-side taillight. Slide it around until you see how it fits into position. The piece will have to be bent into a perfect fit by hand. When bending, be careful not to crease the trim piece. Always bend over a round surface, such as your forearm. Start with a slight bend, place it back on the taillight, and bend again as needed. Repeat until the piece lies evenly along the tail light’s outer edge. Once the trim piece is bent correctly, slide it into position until you have an even fit all around. NOTE: Once you attach the trim ring, you will not be able to move it again.
- Once you are satisfied with the fit, remove the red liner from the attachment tape on the underside of the trim ring. Carefully hold the trim piece over the passenger taillight. When you are certain it is in the correct position, press down lightly at first. Make any last-minute corrections and then press firmly to set. Push along the entire perimeter to ensure a tight bond. It is a good idea to place masking tape over the trim piece to hold it while it sets. Allow it to set for at least 8 hours. Do not get it wet during this time.
- After the trim piece has set, remove the masking tape and clear liner (if any) on the front of the trim ring. Clean the area around the trim ring of any remaining residue.
- Repeat steps 1 through 4 for the remaining tail-light trim piece.
CARE AND MAINTENANCE:
Care must be taken when cleaning your cover. Lightly dust your cover with a clean, soft cloth first to prevent particles from scratching it. Then wipe with a good-quality, streak-free glass cleaner using a new, clean, soft cloth.