


Description
Only available at TheProwlerStore.com
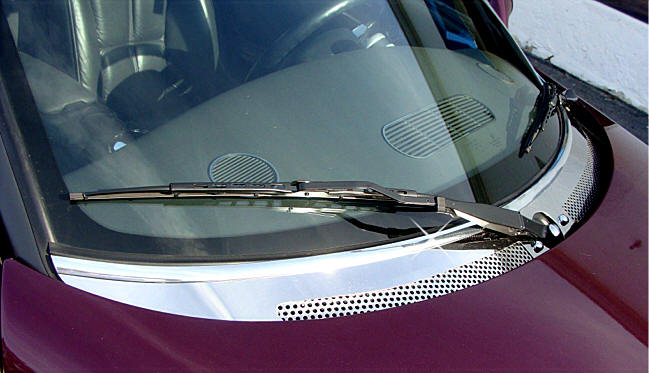
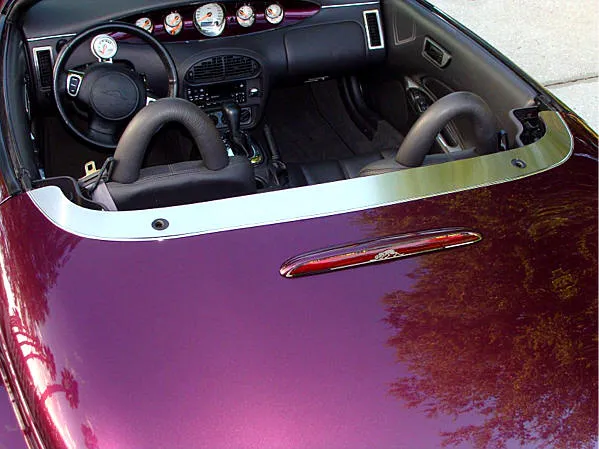
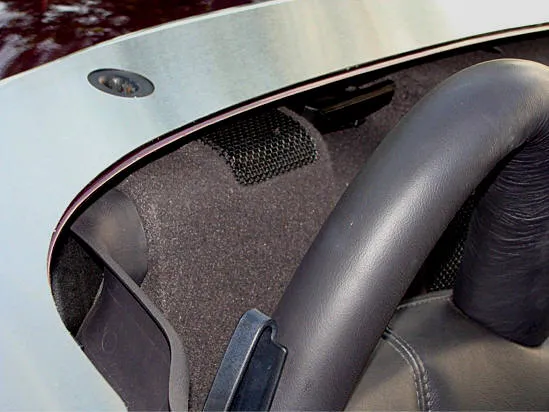
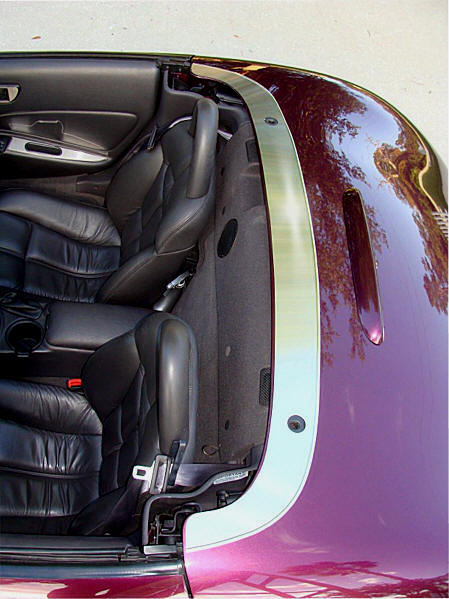
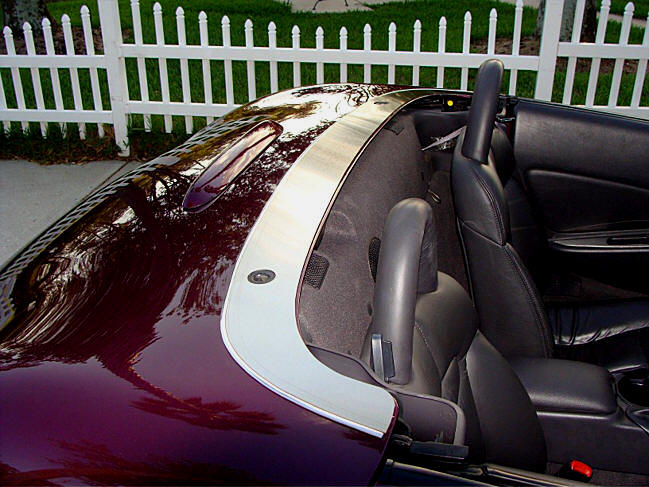
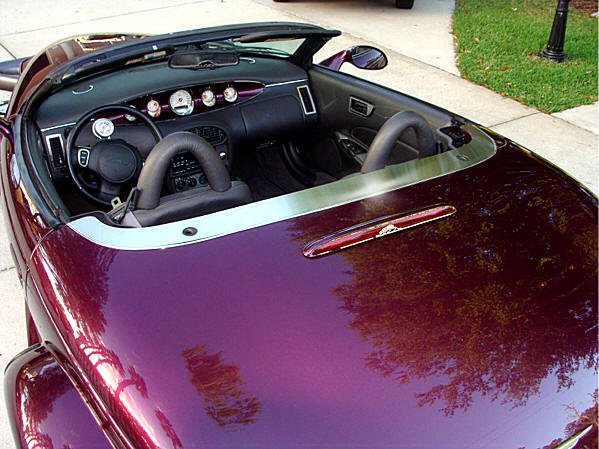
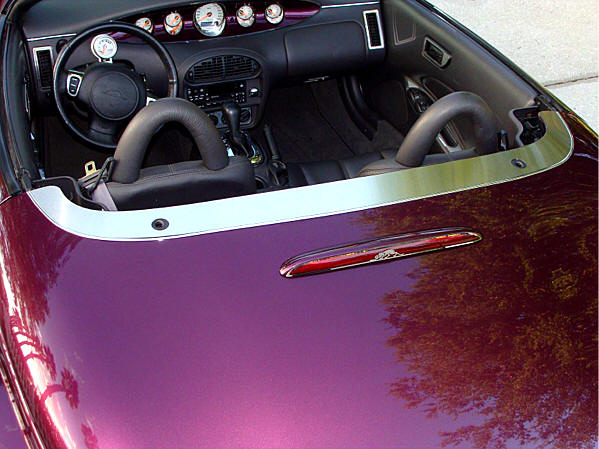
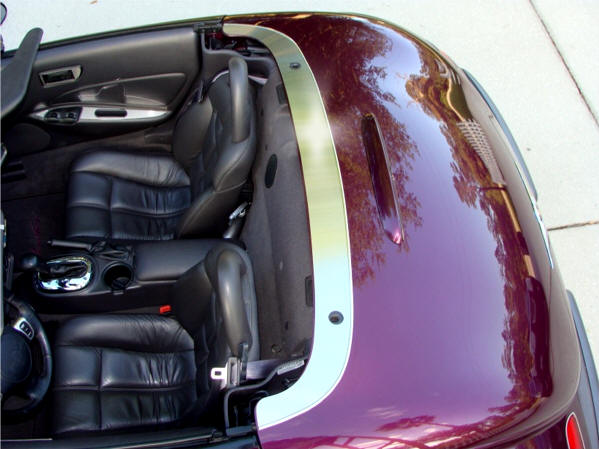
This piece fits on top of your rear deck. It has an adhesive back that will permanently adhere it to your vehicle. Made to add a finished appearance to your rear deck when the top is down. Designed to protect your rear deck paint when the top is up. Made of pure shiny heavy-gauge stainless steel with a brushed finish. No maintenance required. It will not rust, stain, or fade.
Your soft top fits very nicely over it and locks in place just like it should.
This item contains one (1) trim plate as shown.
Will not come off on the road, even due to vibration or potholes.
PROWLER REAR DECK TRIM PLATE©
PART# ACC-822005
INSTALLATION INSTRUCTIONS
Included: 1 x Stainless Trim Plate, 1 x Long Chrome Edge Molding, 1 x Test Tape Kit, 1 x Packet of Promoter
Need: A helper
- Prepare the surface by washing the area first with soap and water to remove any dirt or grime, then scrub the area to be mounted with household rubbing alcohol. Let it dry.
- Once dry, test the adhesion of the rear deck trunk surface of your Prowler. Take a piece of test tape or masking tape and stick it to the area on your trunk where you will be mounting the back deck trim. Test in several places. If the test tape sticks to all areas, proceed to the next step. If not, re-clean until the test tape sticks. Then, swipe the entire area once with the adhesive promoter (provided). Let it dry for 3 minutes.
- Have someone help you with this step. Each of you holds a side. Without removing the rear red liner on your trim plate, place it over the two oval roof catches on your trunk and line them up with the small round holes in the trim plate.
NOTE: Part of the outer ovals on your trunk deck will be covered with the trim plate; this is normal. The tiny gap in height will be covered with the chrome trim provided. Adjust the trim plate so that it sits evenly along the front edge, about 1/8” back from the edge of the trunk lip. Make a careful note of its position. You will only have one shot at the final placement. - Final Placement: You will notice 3 long strips of attachment tape running down the length of your new trim plate. Remove the red liner from the center piece of attachment tape. Create a tab by pulling about 2” off the remaining two strips. These will be pulled off after you reposition the plate to the deck lid.
- A friend will be very helpful for this next step. Carefully place the trim plate back into the final position. Once satisfied with its placement, pull the remaining two strips of red liner. Press firmly from the center out to each edge to set.
- You have been provided with a self-adhesive molding strip. Place this strip into the gap between the new trim plate and the deck lid. Start at one side and set along the back edge, removing the red liner as you go. Lay the molding as straight as possible to avoid a wavy finish. Press firmly to set. Trim any excess molding with a straight razor if necessary, being careful not to cut the paint.
If any questions occur during installation, please call us at: Ad***@*************re.com.
CARE AND MAINTENANCE:
Note: Care must be taken when cleaning your cover. Lightly dust your cover with a clean, soft cloth first to prevent any particles from scratching it. Then wipe using a new, clean soft cloth with a good-quality, streak-free glass cleaner.