


Description
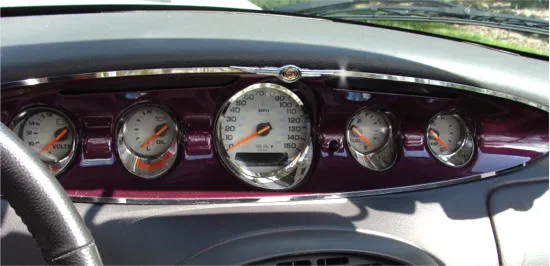
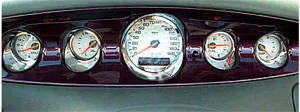
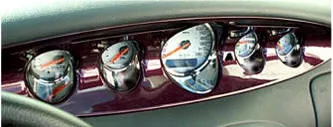
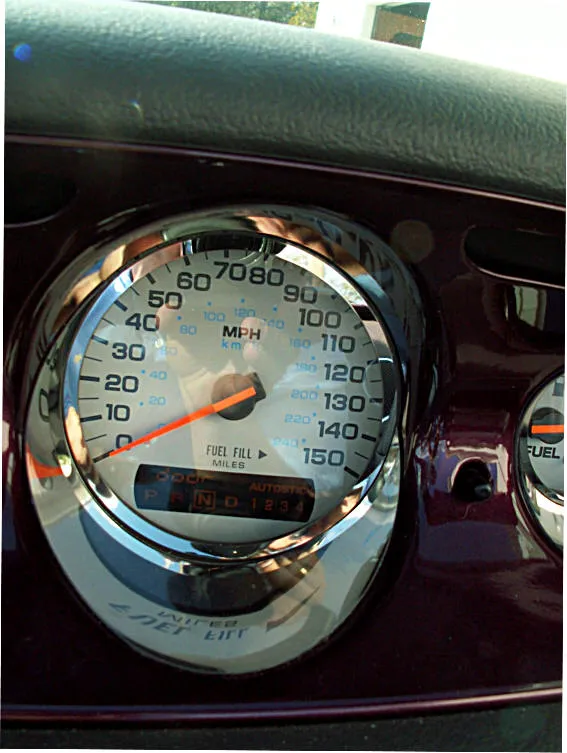
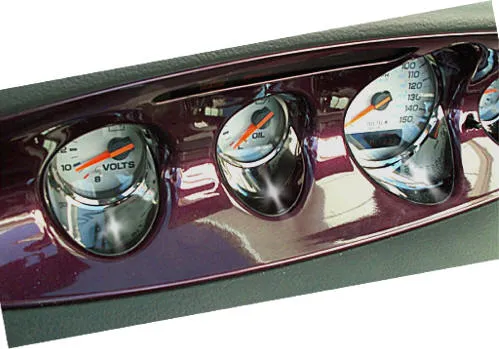
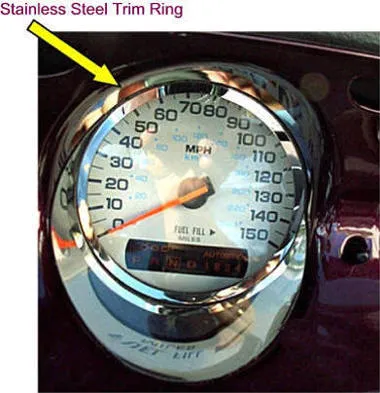
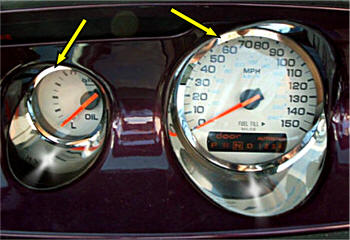
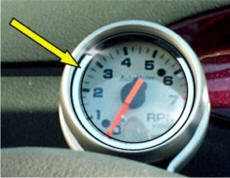
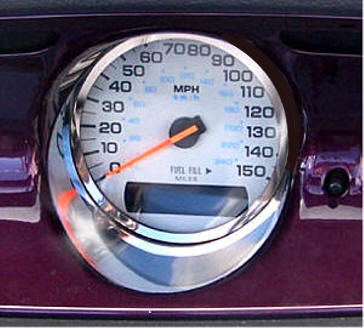
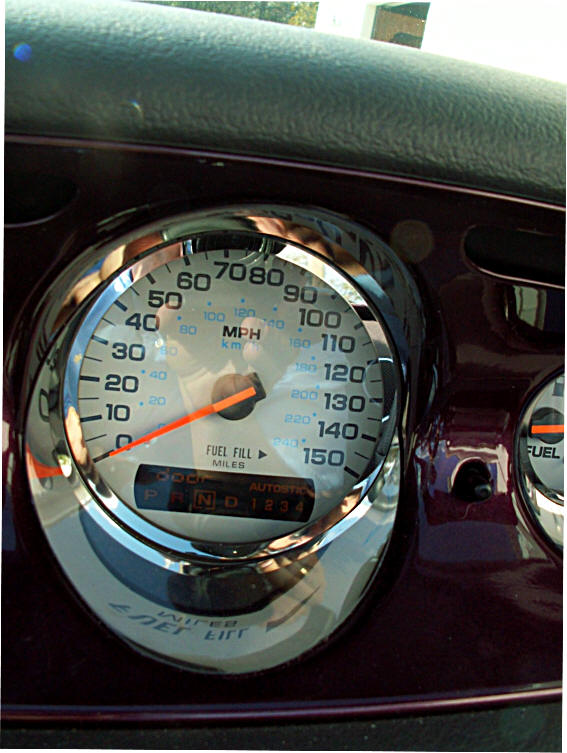
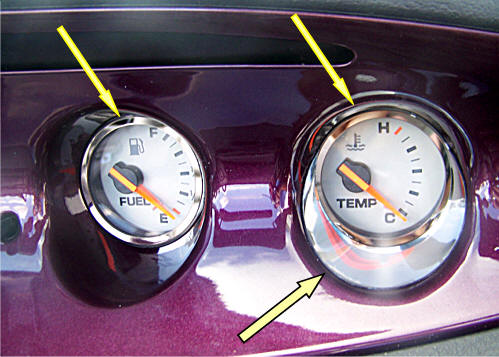
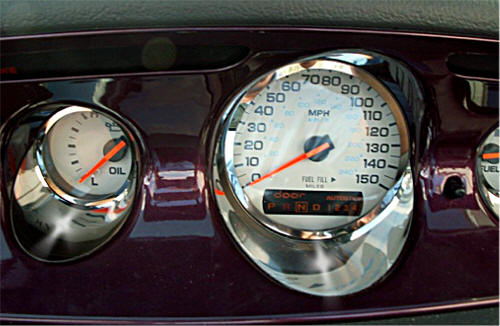
High-polished stainless steel trim rings are placed around the five instrument dash gauges and one for the tachometer. This brightens and enhances the look of the Prowler dash.
This impressive upgrade, available only at TheProwlerStore.com, gives the dash a more professional and stylish appearance. It will not rust or corrode and will never lose its shiny luster.
This 6-piece set contains:
- 6 stainless steel high-polished trim rings
Note: Stainless steel sleeves at the bottom of the gauges are not included in this kit. Sleeves are sold separately.
Installation Instructions
Included: 5 Dash Gauge Trim Rings (1 large and 4 medium), 1 Tachometer Trim Ring, 1 Adhesive promoter pen, 5 Circle stickers with black edge.
- Take your trim rings out of the wrapper. Do not remove the back red tape covering.
- Wash the center dash gauge plexiglass faces and your tachometer with soap and water. Rinse thoroughly and dry.
- Take your sheet of black circle stickers and peel off a small one. Mount this sticker on top of the plexiglass face of each gauge and the tachometer. Be very careful to center the sticker. Once positioned, press down in the center and work outward to the edges.
Once the sticker is flat (don’t worry if part of it extends slightly onto the dash), peel off the clear protective sheet. What remains is the black trim sticker around the perimeter of the gauge glass.Note: The purpose of this is to hide any light escaping behind the stainless trim ring at night.
Note: These stickers are optional. Your metal dash rings are slightly smaller than your gauges to prevent damage when mounting. The black sticker trim rings hide the tiny amount of exposed glass. - Take a trim ring for one of the five dash gauge dials and hold it up to the glass. Position it exactly where you want to mount it permanently. Once satisfied, remove the red backing to expose the adhesive.
- Use the promoter pen to wipe the perimeter of your gauge glass where the trim ring will attach.
Note: If you used the sticker option, do not apply the promoter on top of the stickers. - With the backing removed and the adhesive exposed, carefully position the trim ring onto the gauge glass. Make final small adjustments. Once you are certain of the placement, press firmly along the entire ring to secure it.
Wait 12 hours for it to set, then clean the area with rubbing alcohol. - Install the remaining four dash trim rings plus the tachometer trim ring as explained above.