


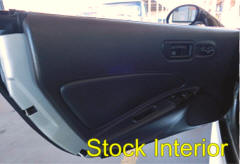
Description
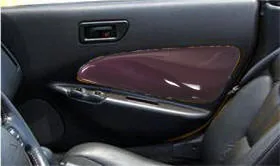
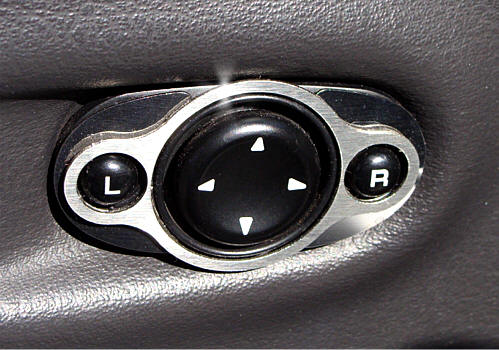
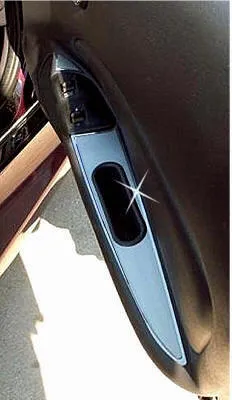
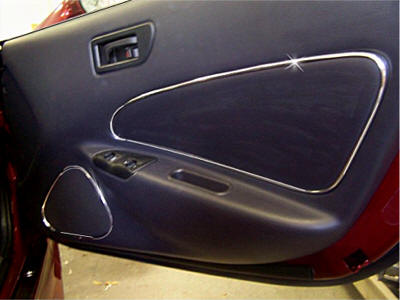
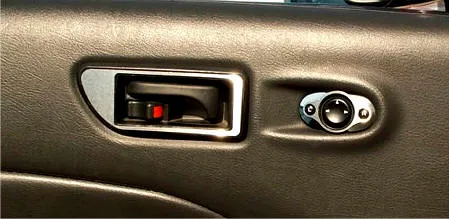
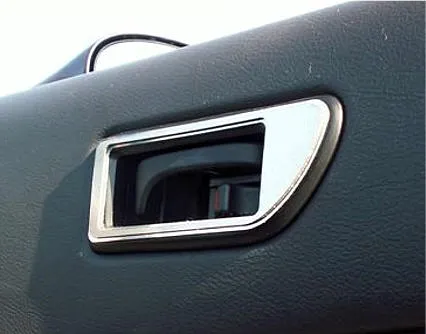
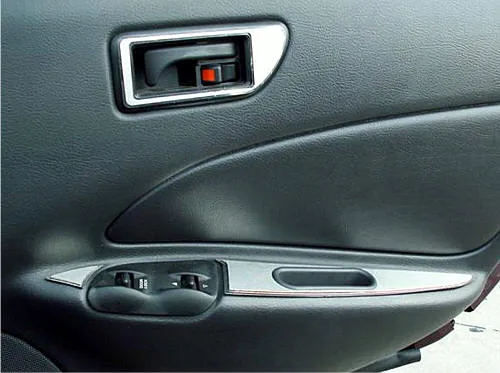
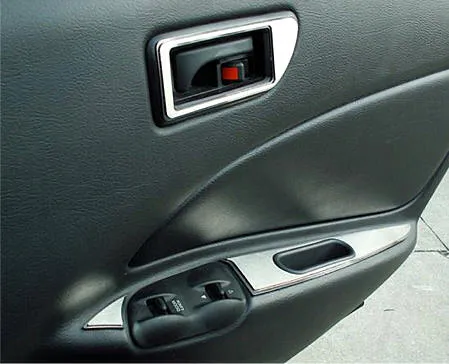
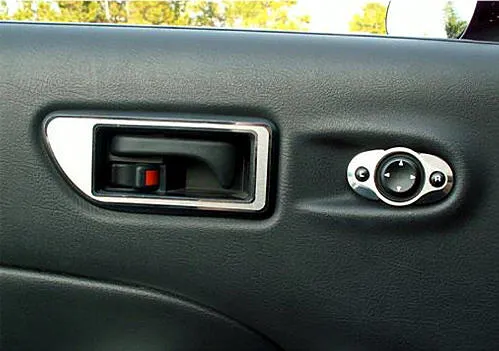
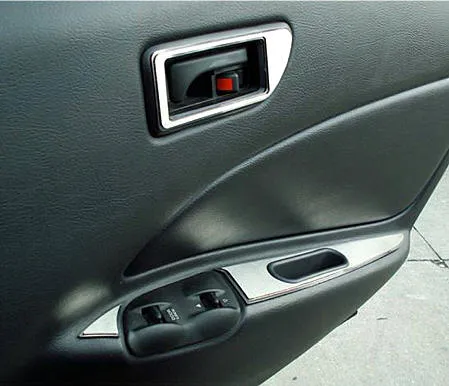
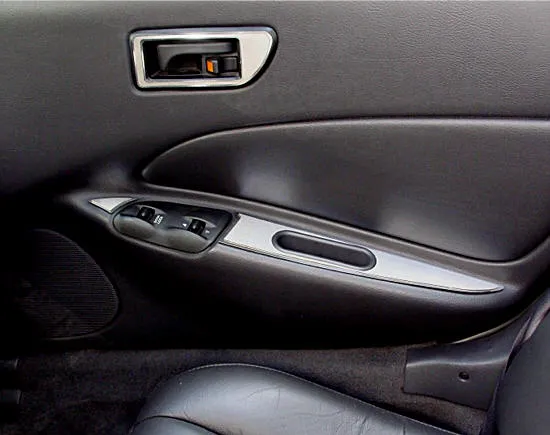
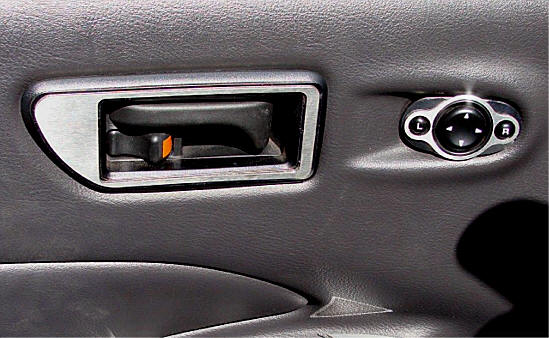
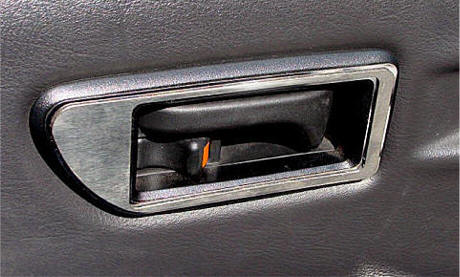
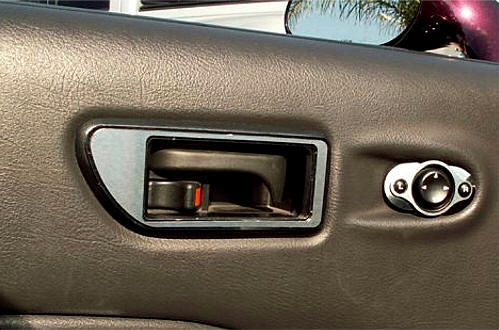
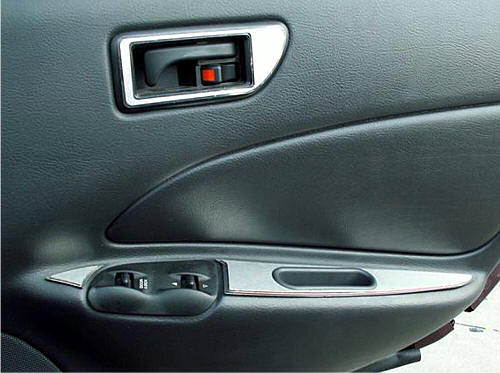
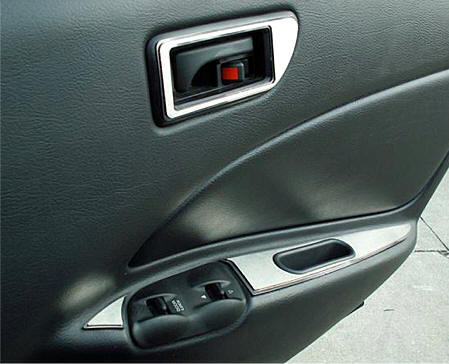
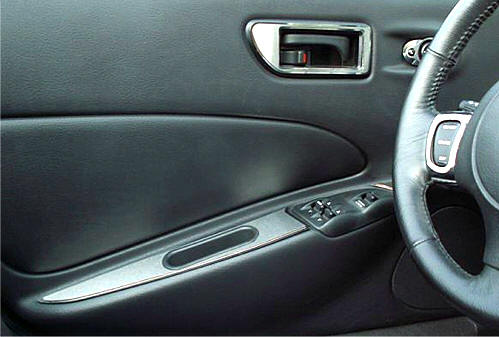
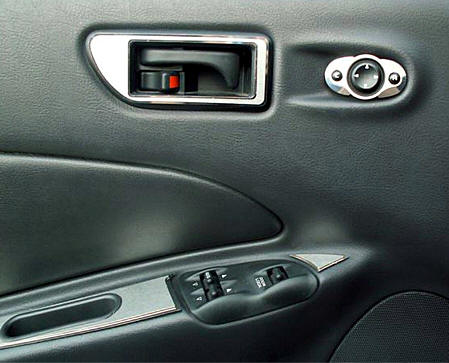
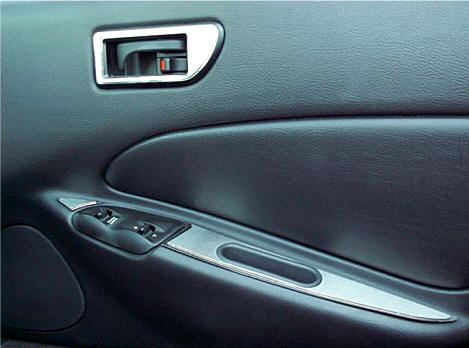
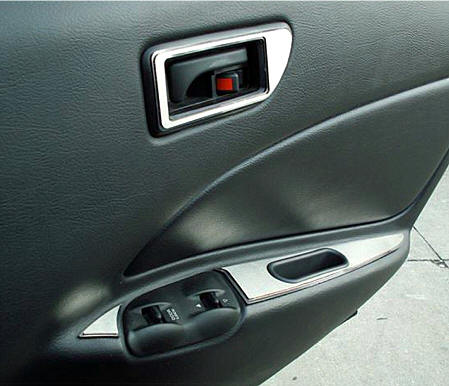
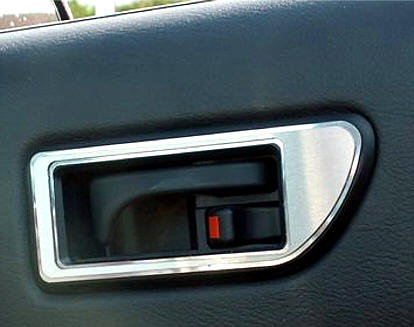
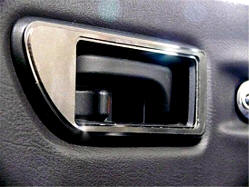
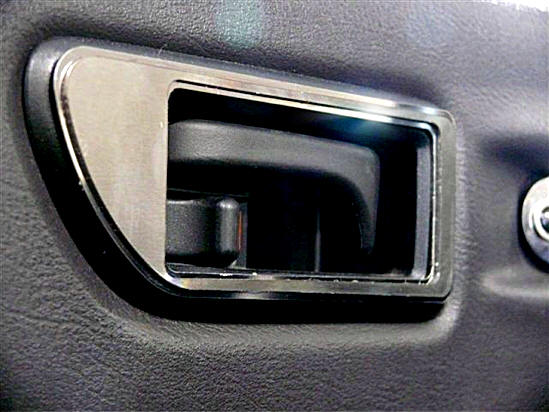
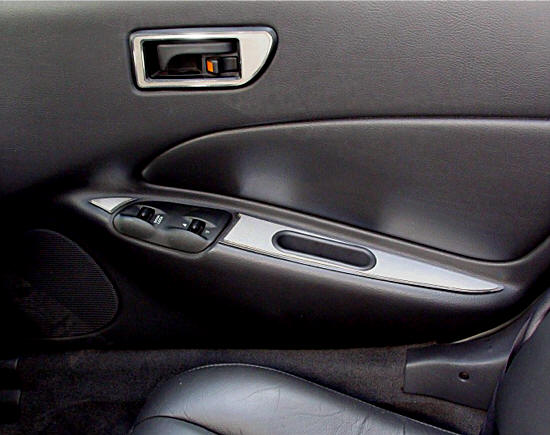
Stainless steel brushed top layer with high-polished trim reveals two door handle overlays (P & D) and one power mirror trim bezel.
Easy installation – just peel and stick. Stays in place.
It will not rust, corrode, or lose its luster.
The door handle bezel is not sold separately.
INSTALLATION INSTRUCTIONS
Included: Trim part(s), 1 x promoter packet, 1 x tape test kit
IMPORTANT! Before you begin, you must first prepare your dash/door areas where the pieces will be mounted to ensure good adhesion.
Clean the entire area thoroughly with household isopropyl alcohol (available at any grocery or hardware store).
NOTE: If these areas have been treated with Armor-All or similar surface protectors, installation will NOT work unless these treatments are removed using special chemicals. Use a rough pad to slightly scuff the surface if the part does not stick well after cleaning.
We cannot be responsible for kits not sticking due to improperly prepared surfaces.
PLEASE NOTE: Once parts are mounted, they cannot be returned due to installation errors.
- Once the areas have been prepared, use the adhesive promoter packs/tubes (provided) to wipe the dash/door areas where the stainless pieces will be applied. Allow a few seconds to dry. You have also been provided with a test strip to check adhesion. Peel the backing off the test strip, stick it to the interior surface, then remove it. If it sticks well, proceed with installation. If it does not, refer back to the special preparation instructions and repeat the process.
- Before removing the liner for permanent attachment, place each piece into position to check the fit and become familiar with how it aligns. Some parts may need to be gently hand-formed to conform to the shape of your dash for a perfect fit without forcing. Once satisfied, peel the red liner and firmly press each piece into place. Apply firm pressure along the entire surface of each trim piece.
If you have any questions during installation, please contact of****@*************re.com
Note: Extra care must be taken when cleaning your dash kit. Lightly dust your kit with a clean, soft cloth first to prevent particles from scratching it. Then wipe with a new, clean soft cloth using a good quality streak-free glass cleaner.