
Description
Only Available from TheProwlerStore.com
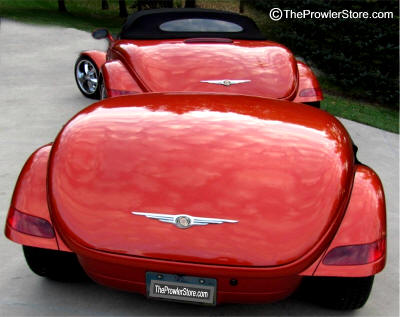
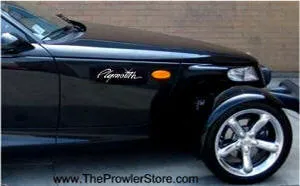
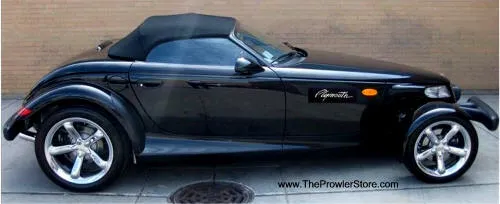
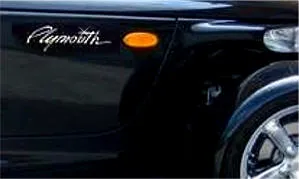
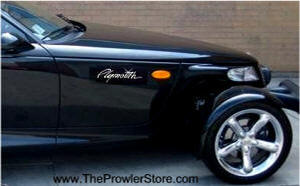
One odd thing about the Prowler is that it doesn’t say Prowler anywhere on the car. Many people have come up to me, walked around my Prowler, and asked, “What kind of car is this?” These emblems are real, high-quality stainless steel, high-polished, and laser-cut to fit perfectly on your side panel. These bright, shiny pieces really pop out! What a difference!
They will not rust, corrode, or stain and will keep their luster for the life of your Prowler. Mounted with professional 3M automotive tape pre-cut on the back of each letter, it comes with a pen-type liquid promoter to form a tight bond.
Includes one set of letters that spell “PLYMOUTH” emblem. Fits all Prowlers 1997-2002. Easy installation. Letters are not sold individually.
When applied properly, they will not come off on the road, even from vibration or potholes.
INSTRUCTIONS
Parts included: 1 set of letters spelling “PROWLER” and/or 1 set of letters spelling “PLYMOUTH”.
WARNING: It is very important to follow every step without skipping anything. This will ensure that you mount your insert letters professionally.
- Prepare the body surface thoroughly with soap and water. Let dry. Next, wash the area with rubbing alcohol to remove any oily residues.
NOTE: If you have used a protectant such as wax or Armor-All, you will have to go through a more thorough cleaning process.
After cleaning and drying the surface, test it by sticking a piece of masking tape to the area you plan on mounting the letters. If it sticks, you are ready to move on; if not, clean until it does stick. - Take your included template and line it up where you intend to mount your emblem letters. Once sure, tape the template to your body.
NOTE: Do not remove the backing of the letters until instructed to do so.
Make sure each letter is formed to fit the exact shape of your car’s surface. Hand-bend each letter as needed to match any curves. Start with the “P” in Prowler. Examine how it fits and carefully bend the letter by hand to match the curve. When finished, each letter should lie on and conform to the bumper exactly.
NOTE: If you are mounting on a flat surface, you may not need to bend letters at all. Even on a curved surface, short letters may not require bending. - Take out your Promoter Pen. Snap it sharply in the middle to break the glass ampoule inside. Press the promoter pen inside the letters on the template where you are going to mount the new letters.
- Once you are satisfied with the fit, remove the backing of the first letter and press it firmly into the proper place on the template.
- Repeat this process for each letter. It is important to get a good fit because the automotive tape will not hold over the long run unless the letters are bent to the contour of the bumper.
After removing the tape, clean the letters and bumper with a good glass cleaner.