


Description
Only available at TheProwlerStore.com
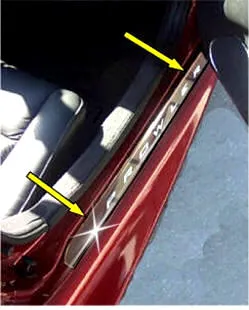
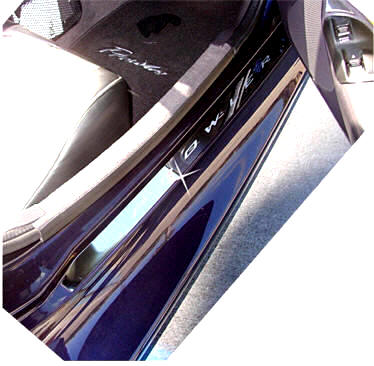
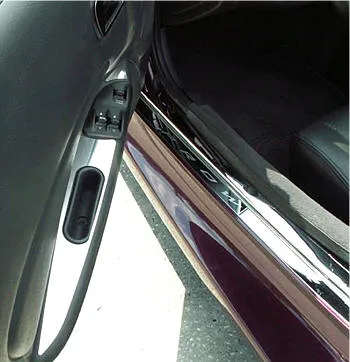
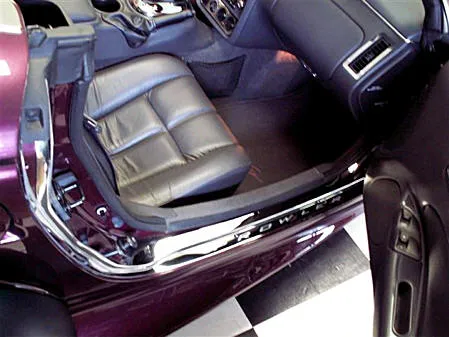
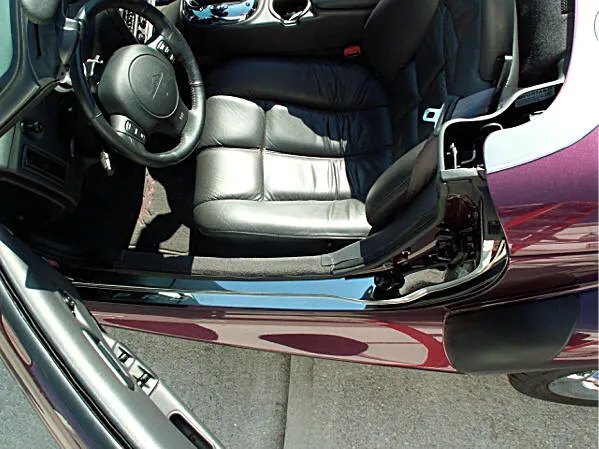
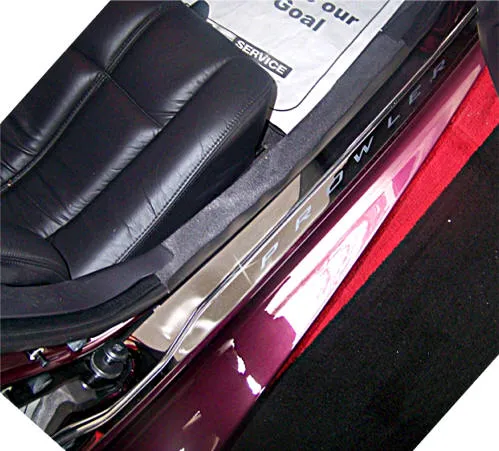
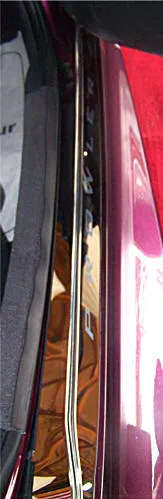
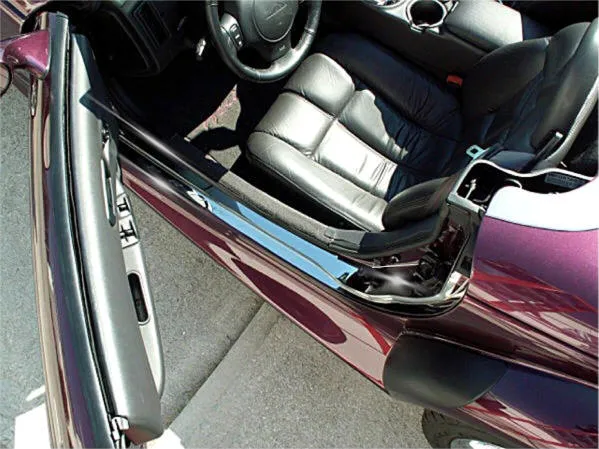
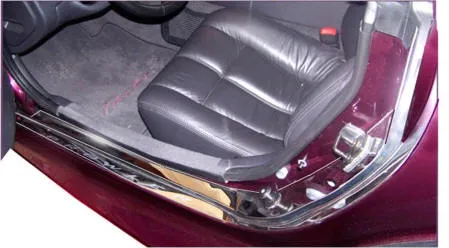
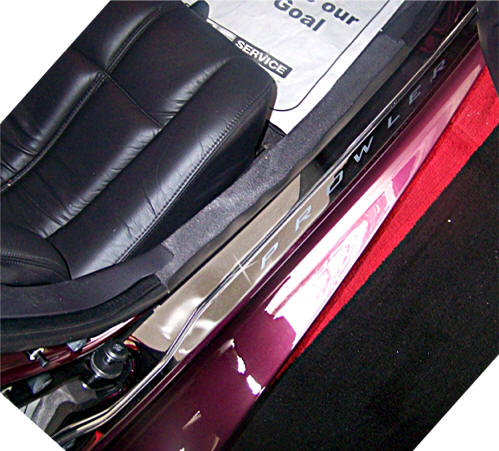
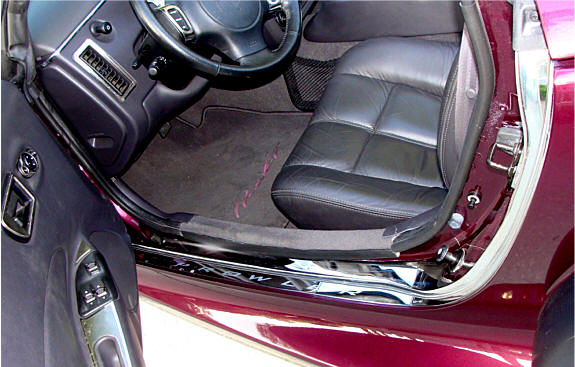
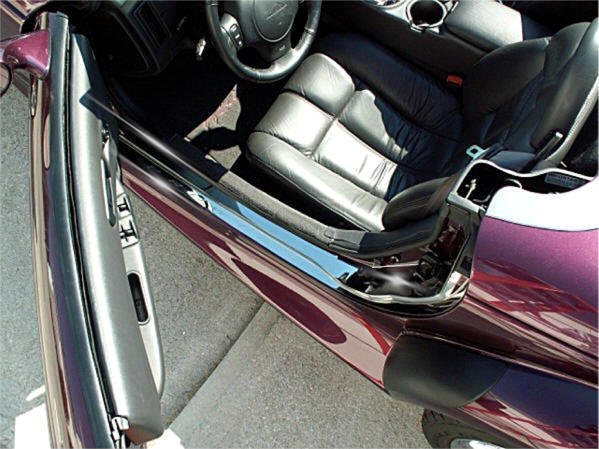
The Highest Quality Prowler Door Sills in the world.
Car Show Quality Part!
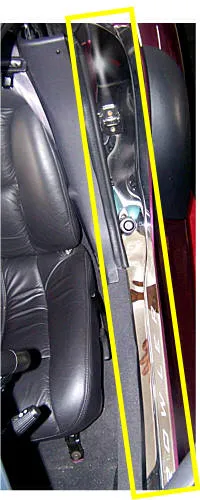
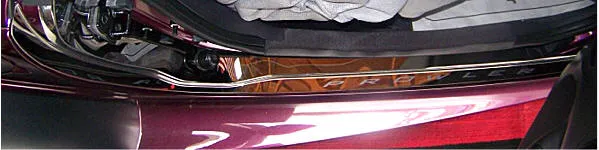
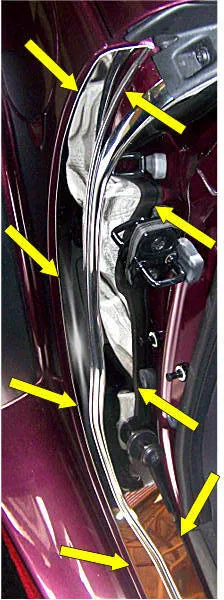
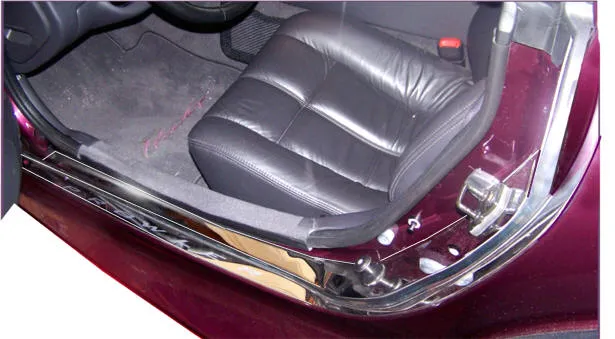
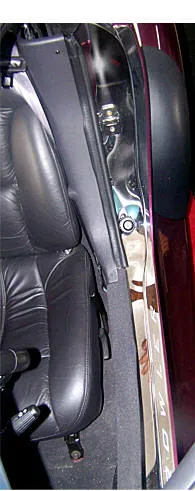
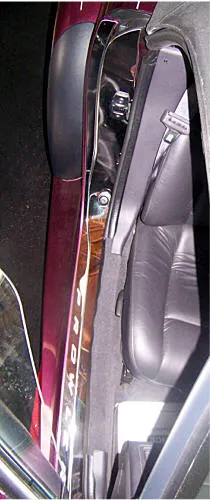
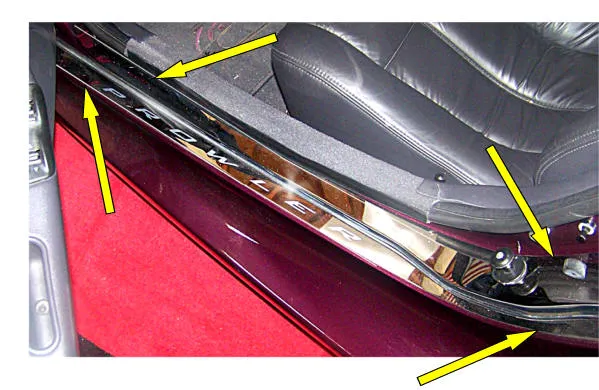
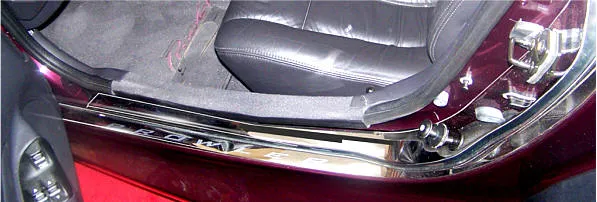
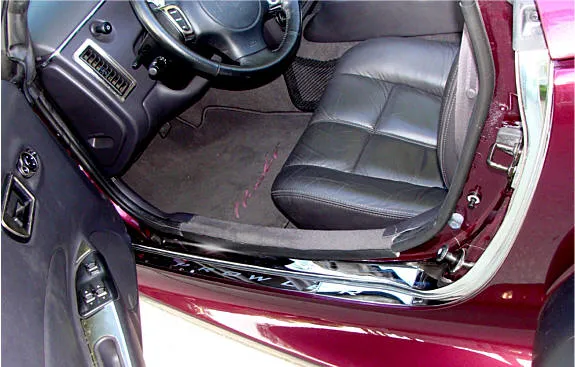
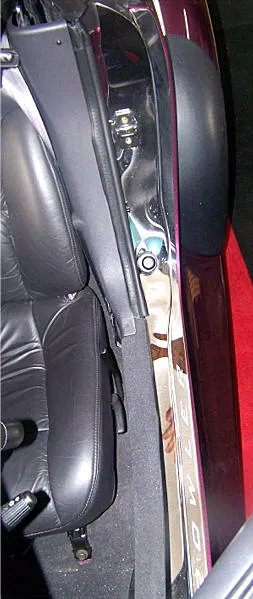
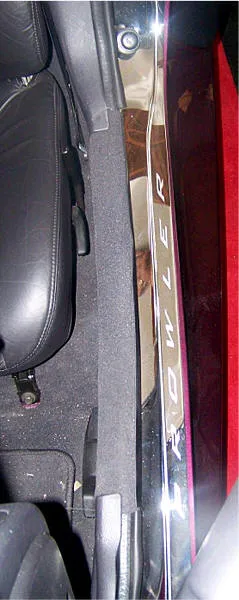
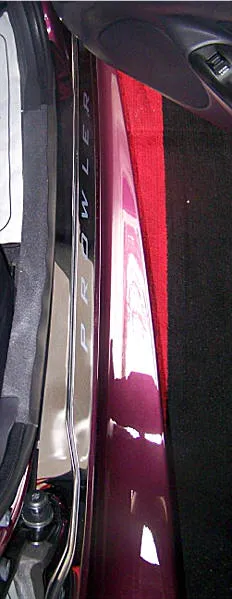
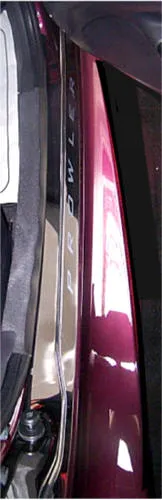
Each side consists of two pieces that form a molded fit with the sill and trim area. This is a two-level full door molding that goes from where the door opens on its hinge up the side to the window and seat top. Includes “PROWLER” etched aluminum stickers on each sill.
Stunningly beautiful and eye-catching, these sills are built to the highest show car standards in materials and craftsmanship. Once installed, you’ll want to admire them all day. They will not come off on the road, even with vibration or potholes.
Recommended: Professional installation.
INSTALLATION INSTRUCTIONS
***We highly recommend professional installation for this part.***
Included: 2 x 2pc stainless jam/sill overlays, 2 x promoter packets, 6 x (6mm x 25) Phillips flat-head screws, 1 x Tape Test Kit, 2 x 60-inch 1/8″ cowl molding pieces, 2 x 60-inch 5/8″ cowl molding pieces.
NOTE: Your new overlays come with a protective liner. Do not remove it until installation is complete.
NOTE: You may remove these sills once installed without damaging your car. However, the sills themselves will be damaged and not reusable.
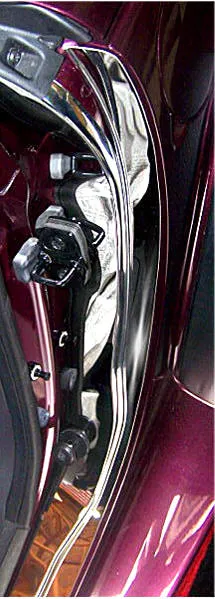
- Remove the two door catches from the door jamb. Before doing so, mark their position so you can reinstall them accurately. Use a square (or a square piece of cardboard) and place it flush against the jamb and catch. Mark the square, the catch, and the jamb. This will help you align them again later. Once marked, remove the catches completely.
- Scrub the entire door jamb and sill area with rubbing alcohol to remove dirt. Place the top section into the upper door sill area and adjust its shape until it conforms naturally without forcing it. When properly shaped, the part will lie flat and will not lift after installation.
- Once satisfied with the fit, remove the red release liner from the back of the section and carefully reposition it. Make sure the three square holes align closely and leave about an eighth-inch overlap toward you.
- Apply the larger chrome trim next. Starting at the top of the door opening, slide the top edge of the trim under the black plastic trim. Insert it firmly, set it under the overlap of the installed section, and press it against the painted surface while peeling back the red liner. This step will cap and finish the upper door jamb section.
- Install the lower section by adjusting its shape to match the contour of the chrome trim you just installed. Place it tightly against the chrome trim. Some gaps may appear—don’t worry, they’ll be covered in the next step. Once installed, remove the protective liner.
- Use the provided small-diameter chrome trim. Starting at the top of the section you just installed, peel the red liner and place the trim directly on the stainless steel, tightly against the chrome trim, to close all gaps. Trim excess molding and press firmly along the entire length.
If you have any questions during installation, please contact Ad***@*************re.com.
CARE AND MAINTENANCE
Note: When cleaning your covers, lightly dust them first with a clean, soft cloth to prevent scratches. Then wipe with a new, clean, soft cloth and a high-quality streak-free glass cleaner.