


Description
This kit includes pre-cut strips of reflective chrome silver 3M body molding that adhere to the door panel. Made of high-quality, professional-grade poly-flex molding.
This item includes:
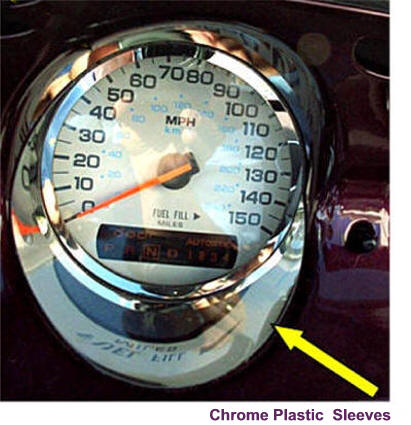
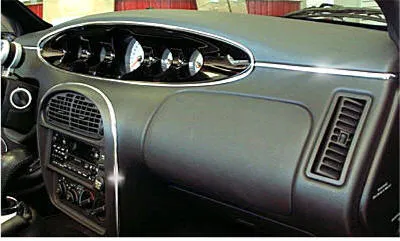
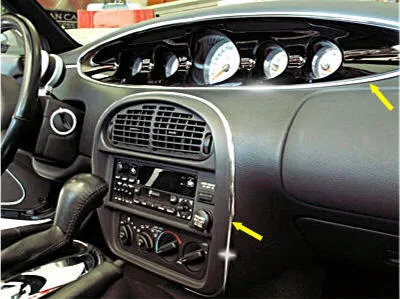
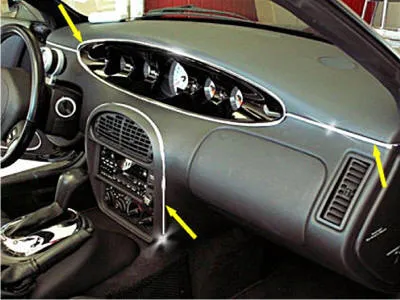
- One (1) trim piece for around the perimeter of the instrument panel.
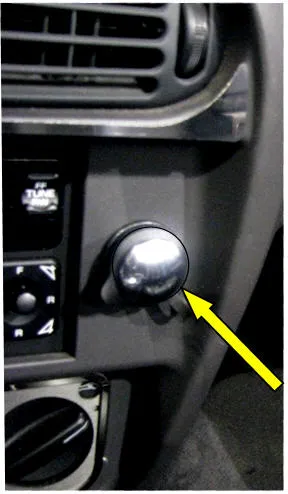
- One (1) trim piece for around the perimeter of the lower center A/C and music control panel.
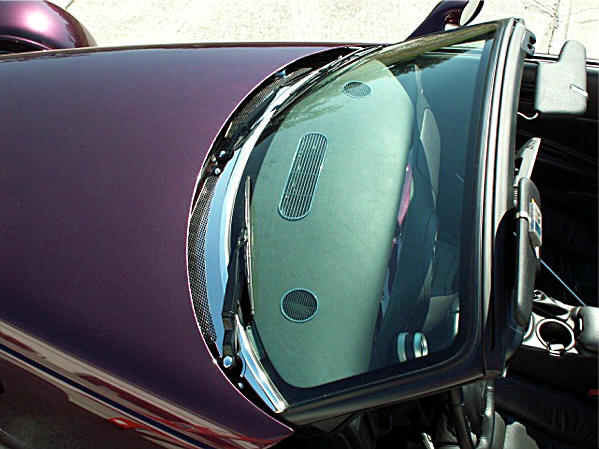
- Two (2) trim pieces for either side of the top instrument panel.
Total of four (4) pieces.
Note: You must thoroughly clean the areas of your interior where the trim will be applied. The trim will not stick to oily, uncleaned, or Armor-All-treated surfaces.
INSTALLATION INSTRUCTIONS
Included:
- 1 x Trim piece for around the perimeter of the instrument panel.
- 1 x Trim piece for around the perimeter of the lower center A/C and music control panel.
- 2 x Trim pieces for either side of the top instrument panel.
- 2 x Promoter Pens
- 1 x Tape Test Kit
- Wash and scrub your interior surfaces where the trim will be mounted. Use rubbing alcohol, or preferably an isopropanol solution (available at hardware stores), and test it before mounting any molding trim. Wash the areas thoroughly and let them dry completely.
- IMPORTANT: Test the adhesion of your dash surface. Take a piece of the test tape (or masking tape) and stick it to the areas where the trim will be mounted. Try several spots. If the test tape sticks readily, proceed to the next step. If it does not, DO NOT MOUNT YET. Re-clean the surface until adhesion is achieved.
- Without removing the red backing liner, hold each molding piece up to where it will be mounted. Check the length. If it is slightly long, trim it with scissors. This is your test run to ensure proper fit.
- Once you are comfortable with the fit, take the first trim piece (the one that goes around the dash panel oval). Peel back about 8 inches of the red liner to expose the adhesive. Start at a less noticeable location, such as the bottom center. Hold it in place and begin slowly mounting it around the dash gauge plate, pulling off more liner as you go. Press firmly as you work around the oval. Do not remove and reapply the molding once it’s pressed down. When you reach the starting point, butt the end tightly against it. You may need to stretch or trim slightly for a perfect fit.
- Repeat this process for the remaining three trim pieces.