


Description
Lowers your seat by 3 inches!
Are you a tall driver? Hit your head on the interior roof? Let this kit solve your problem.
This seat lowering kit is designed for the driver’s side seat only. Lowers your driver’s seat by approximately 3 inches. The kit includes six steel shortening brackets and all necessary hardware.
Includes detailed directions and hardware for both types of Prowler driver’s seats (which are slightly different).
Once this kit is installed, you will still be able to slide your seat back and forth; however, you will not be able to raise or lower it. This kit can be removed, and the seat can be returned to its stock configuration.
Tools you will need for installation: screwdriver, crescent wrench, and a small power angle cutting tool. See installation instructions below, right under the photos.
It is recommended that a handy garage mechanic install this kit.
Patent pending.
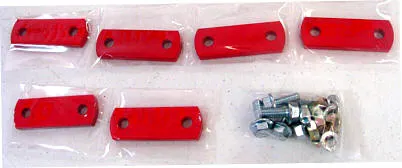
Kit includes:
6 x heavy-duty metal red brackets,
6 x 8.125mm bolts (NOTE: nuts do not go on these bolts and will not fit),
6 x 5/16″ lock washers,
6 x 5/16-24 nuts.
You will need: hand wrench, socket wrench, screwdriver, a hand punch, and a powered angle grinder.
NOTE: There are three different Prowler factory seat setups. Each one is slightly different, so directions might vary. Use common sense or call us at 352-688-8160 M-F.
Instructions for ‘Primary’ seat – bolt studs installed:
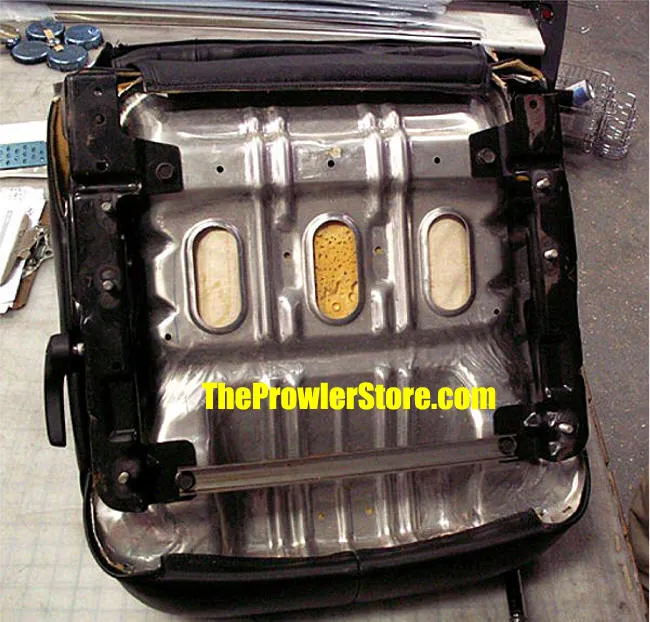
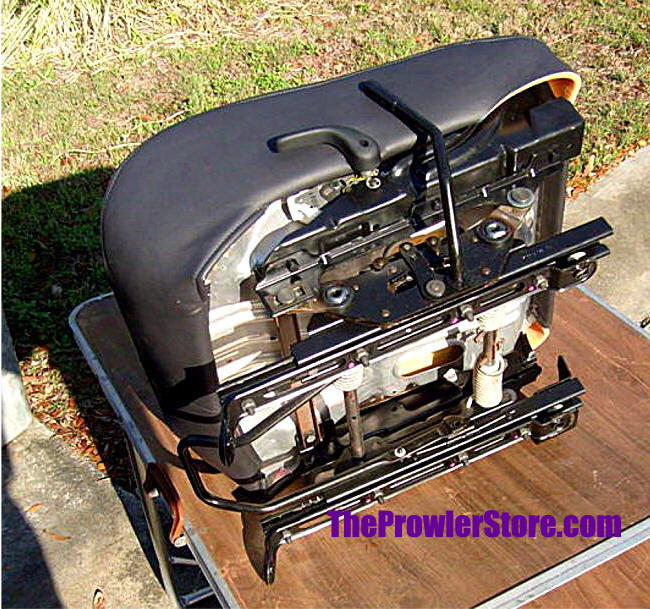
This kit is designed to lower the driver’s seat by approximately 3 inches by eliminating the height adjustment mechanism. This allows the seat to mount directly to the seat slide rail brackets.
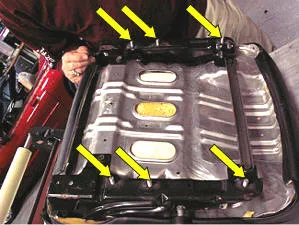
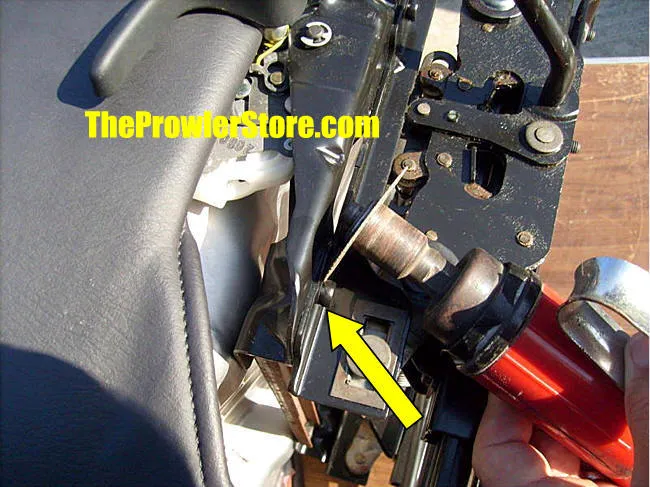
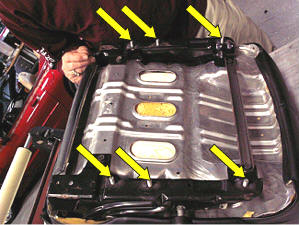
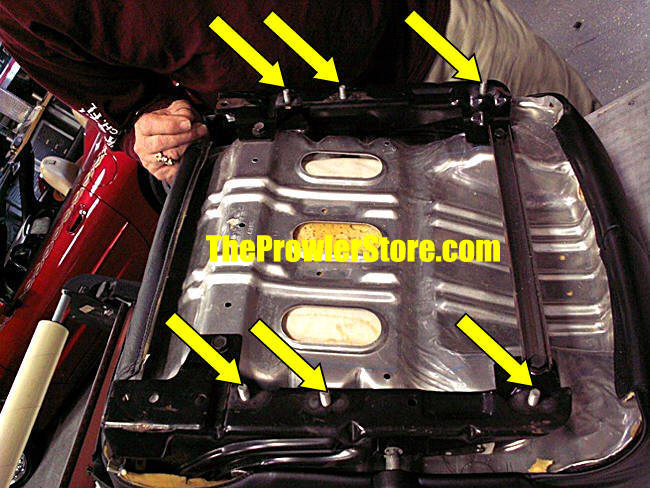
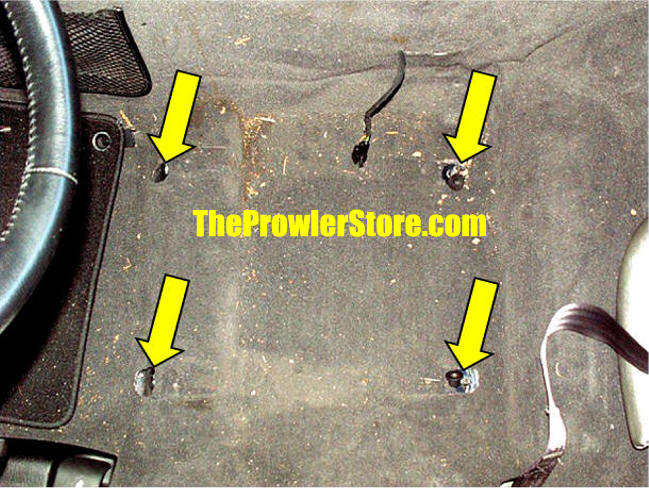
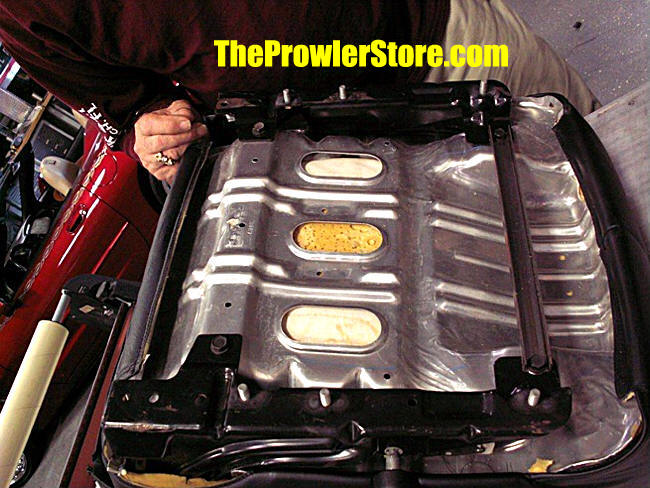
- Unbolt the four corner bolts from the seat floor. Detach the seat belt electrical connector and remove the seat from the car.
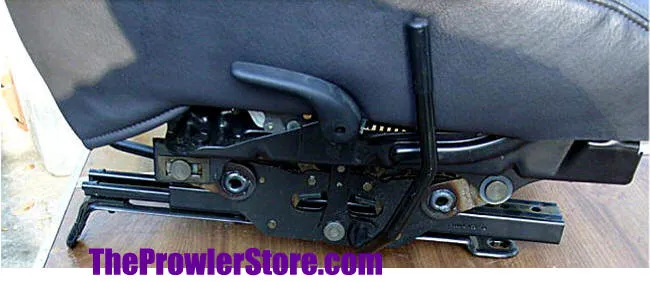
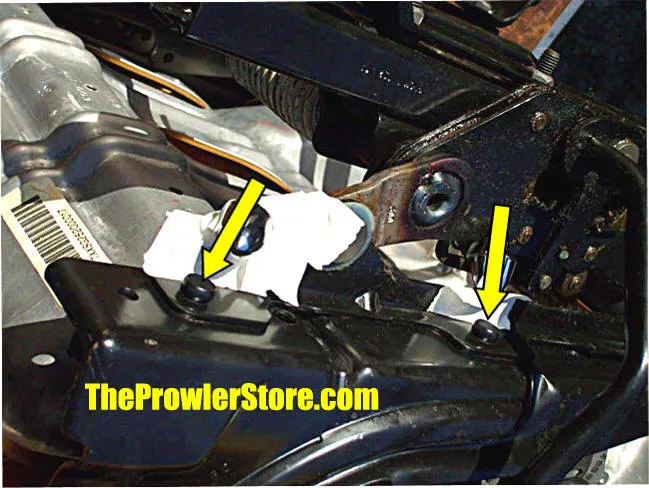
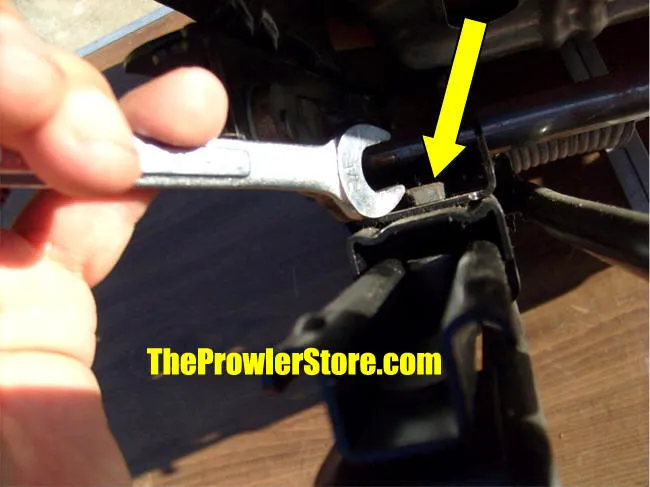
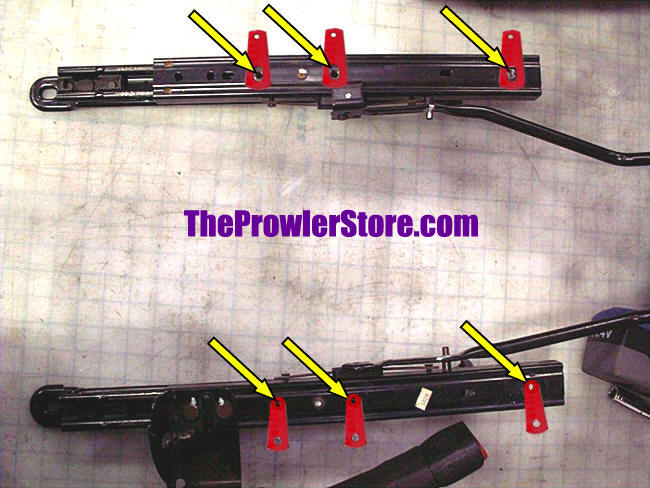
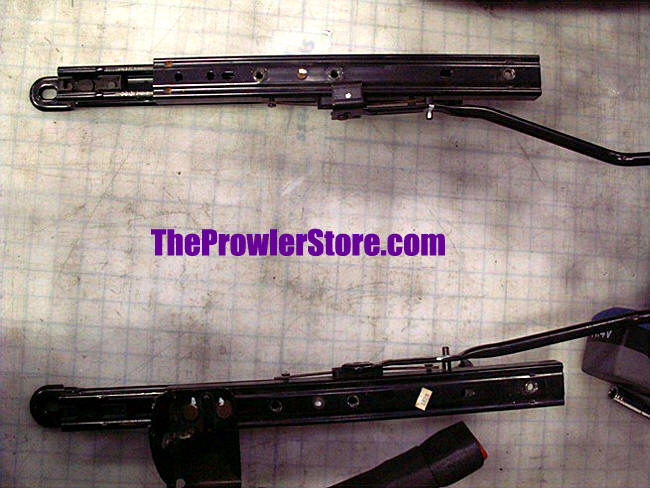
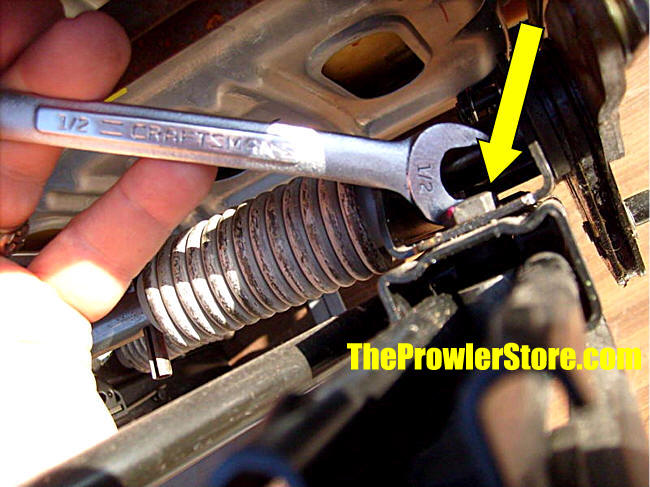
- Unbolt the height adjustment section of the seat bracket assembly on both sides of the seat slide (three nuts and bolts per rail, six total). These original nuts and bolts can be reused.
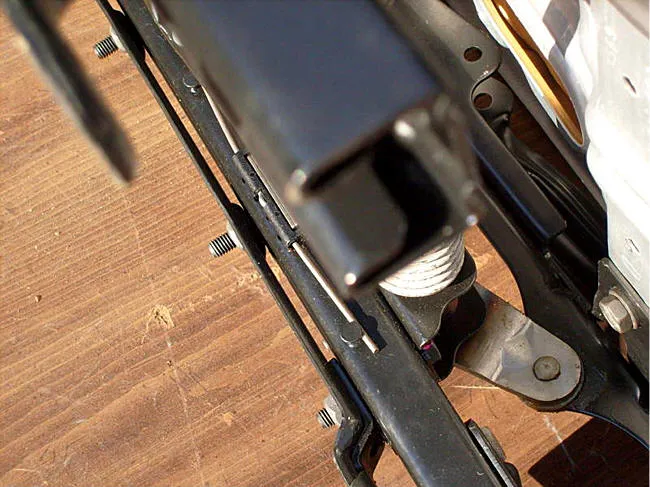
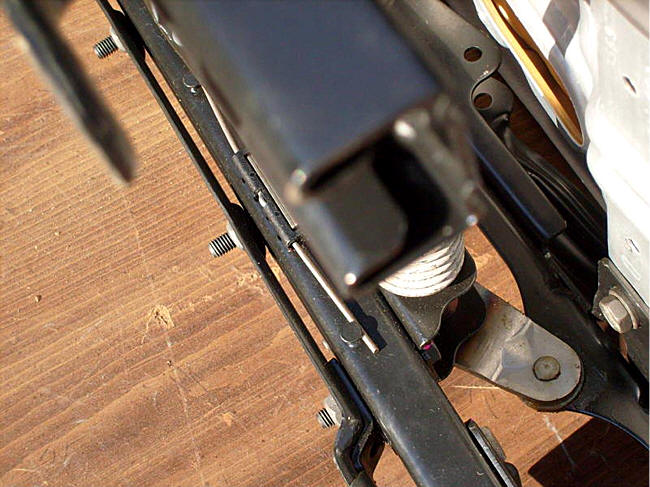
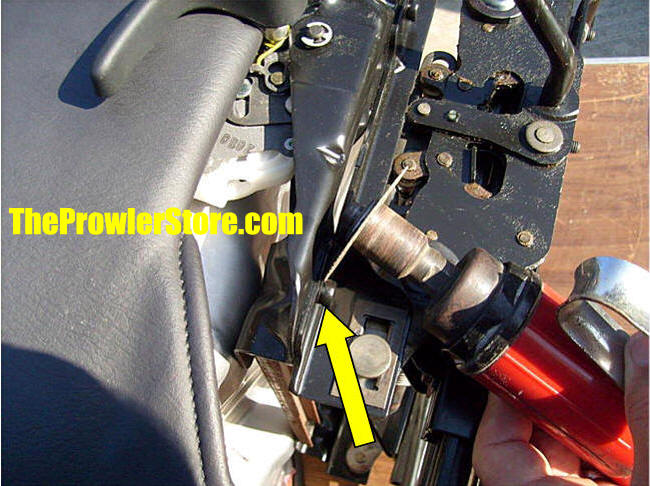
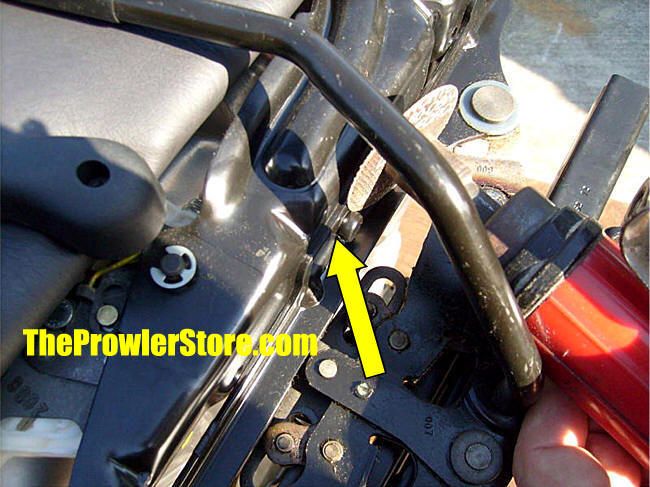
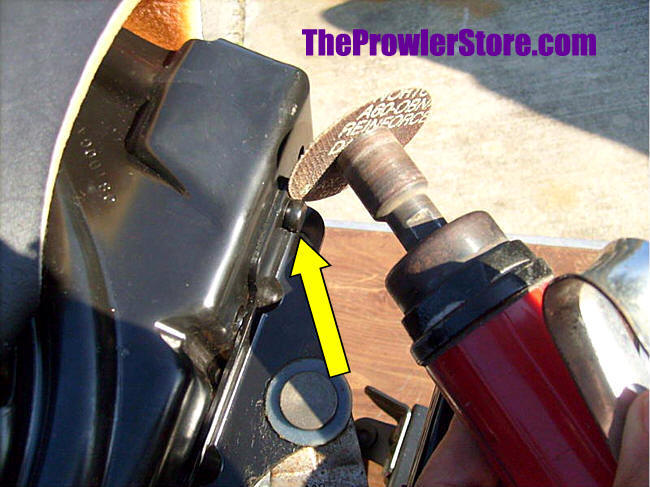
- Cut off the six rivets that attach the rails using an air-powered or electric angle cutter disc. Use a punch to remove the remaining rivet bodies. The six bolts provided will replace the rivets.
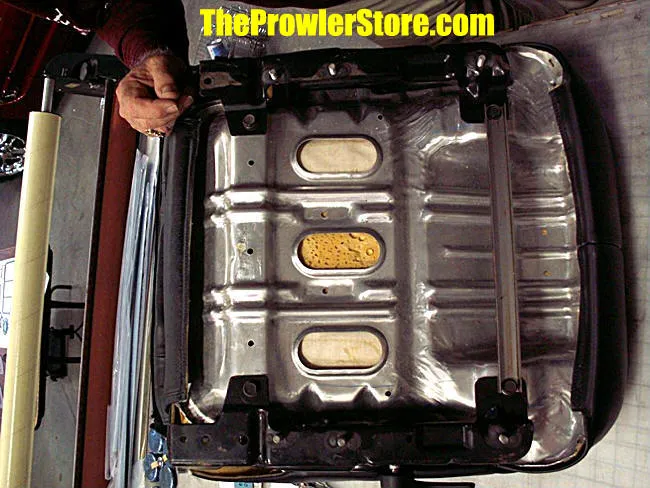
- Your kit includes three 1/4″ thick solid aluminum (red) brackets for each side of the seat. Attach the brackets to the seat slide using the flange-style 125 mm bolts provided. Do this for both sides of the seat slide brackets.
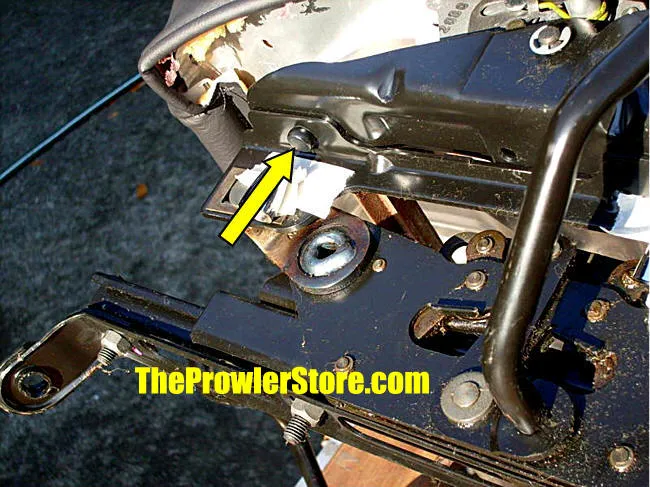
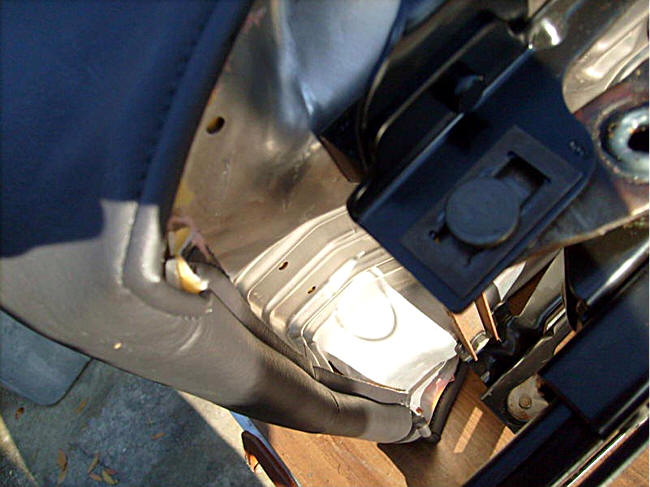
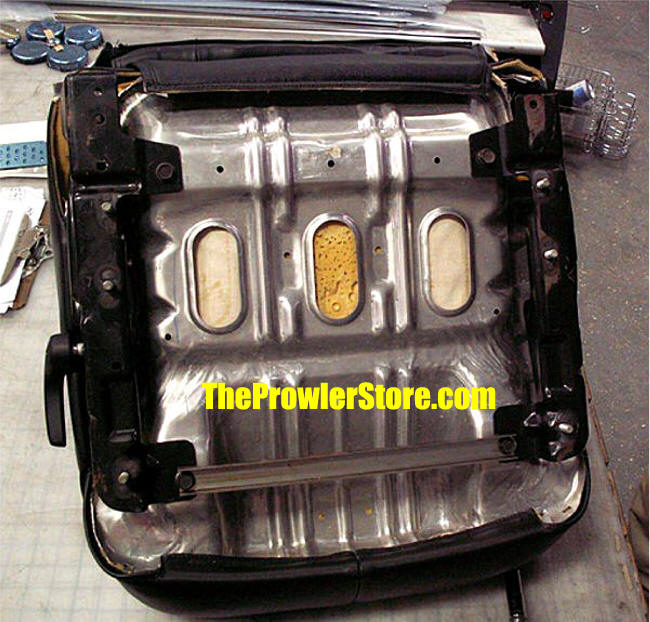
- Flip the seat slide over and align the brackets with the seat bolt studs exposed on the bottom of the seat. Place the six lock washers over each stud and attach using the six 5/16-24 nuts provided. You may need to tap the brackets slightly for alignment. Reinstall the seat by reattaching the seat belt harness and bolting it at the original floor mount locations.
NOTE: You may restore your seat to stock at any time; rivets will be replaced with bolts, and the seat will work normally.
NOTE: Measure the studs from center to center on your floorboard. Ensure that the width between the seat sliders matches the floor studs before tightening the seat lowering kit brackets so the seat will slide properly.
Instructions for ‘Alternate’ seat – no studs installed:
- Remove the seat lowering mechanism and bolt on the three brackets at the factory threaded locations using the factory bolts. Two brackets sit close together, the third at the end.
- With all six brackets bolted in place, flip the seat slide over and set it on top of the seat base.
- Using the six flange bolts provided, place four of them through the existing holes on the seat base and secure using the 8mm 1.25 nuts and lock washers provided.
- Drill a 5/16″ hole through the two remaining bracket locations, bolt the brackets, and reinstall the seat.
NOTE: You may restore your seat to stock at any time; rivets will be replaced with bolts, and the seat will work normally.
NOTE: Measure the studs from center to center on your floorboard. Ensure that the width between the seat sliders matches the floor studs before tightening the seat lowering kit brackets.