


Description
Includes bulbs and quick-connect wiring harnesses
Below is a link to YouTube for directions for this product:
https://www.youtube.com/watch?v=ZryD_AGScIM
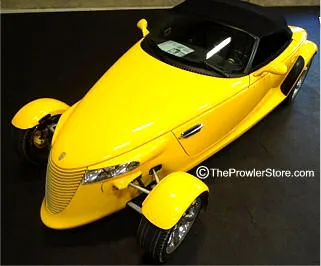
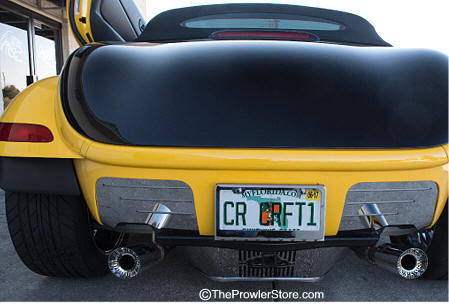
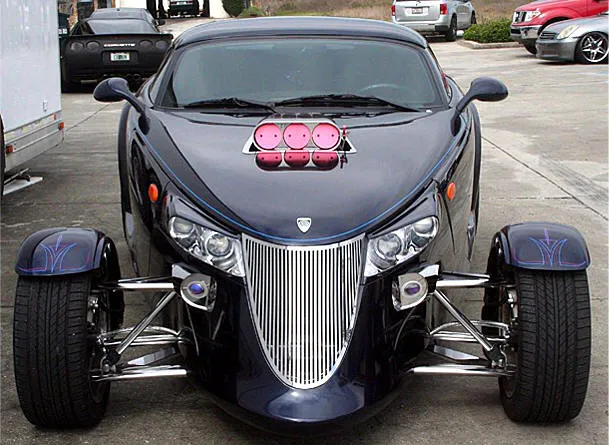
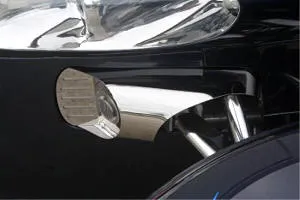
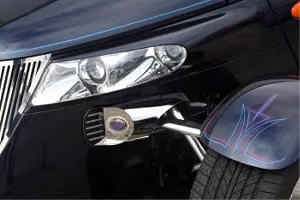
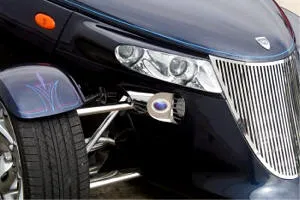
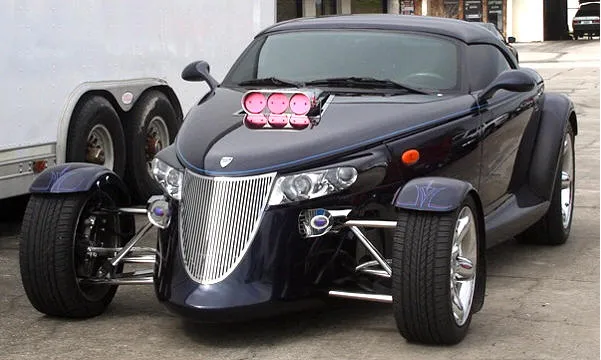
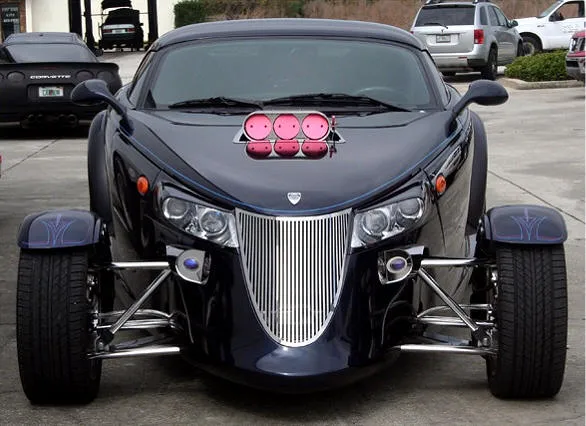
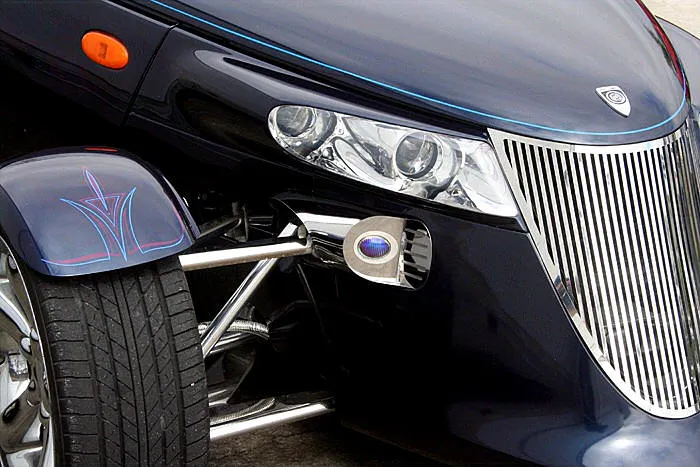
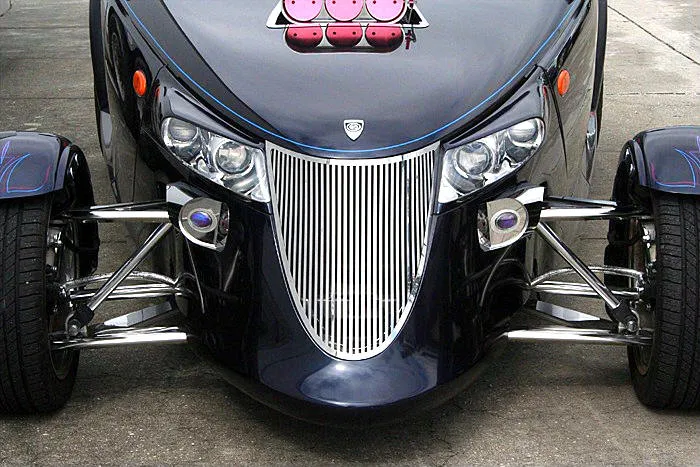
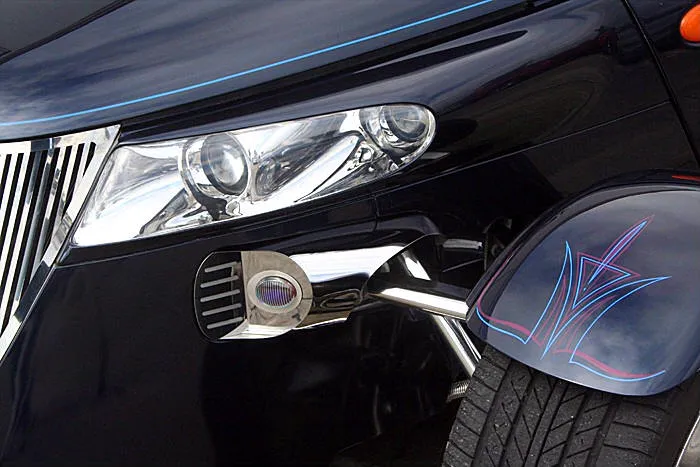
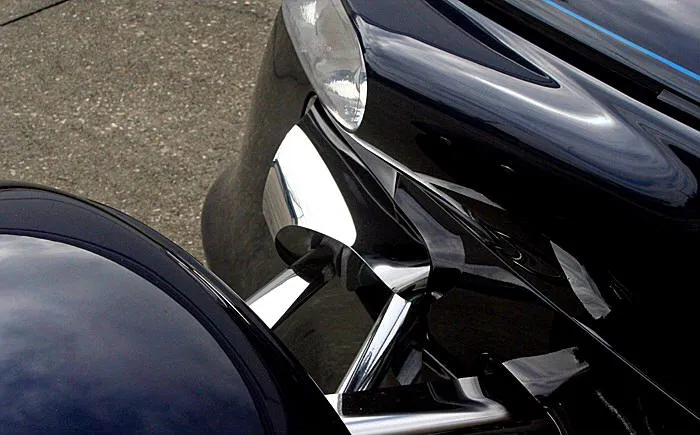
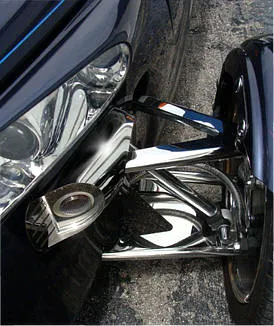
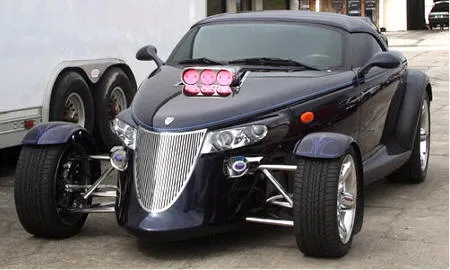
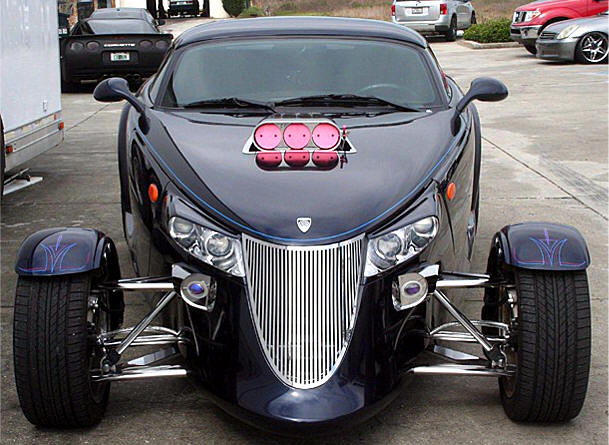
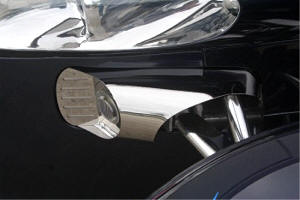
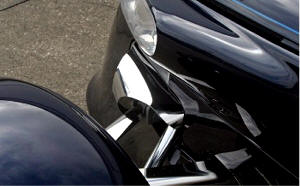
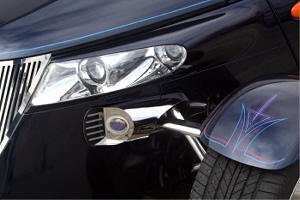
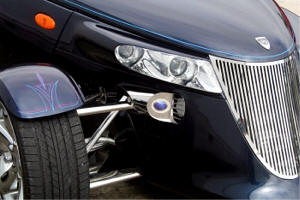
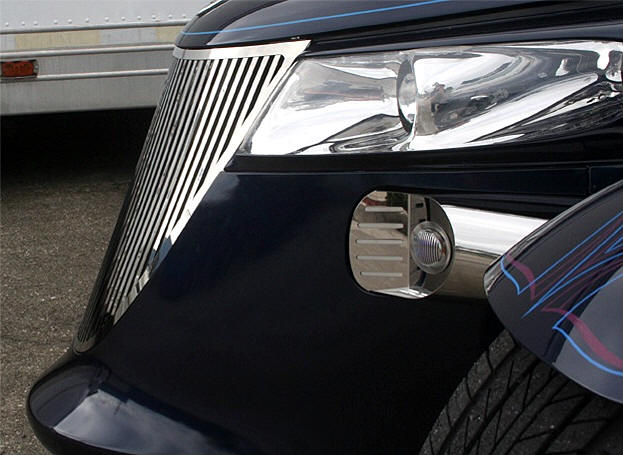
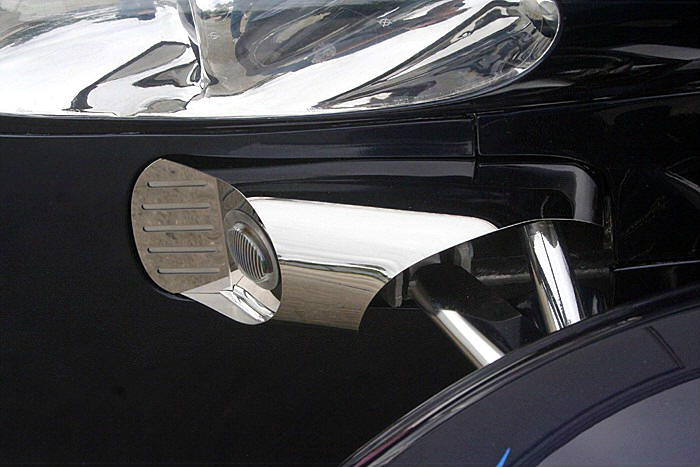
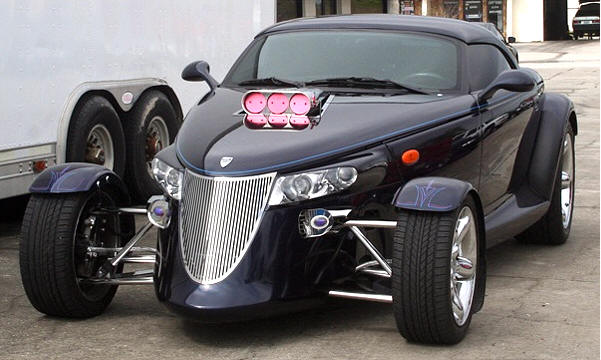
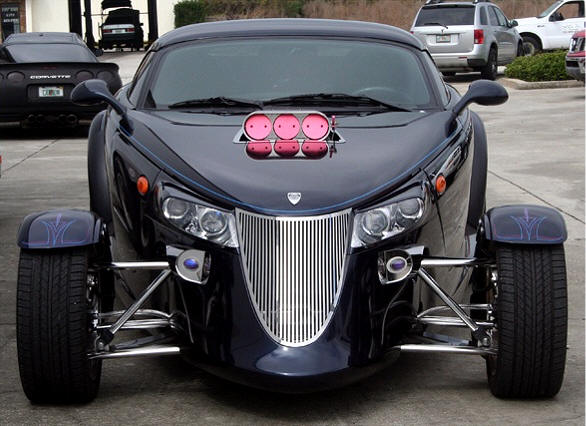
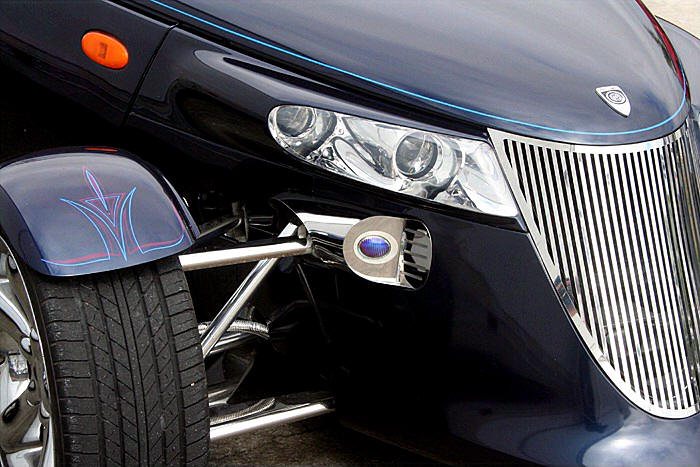
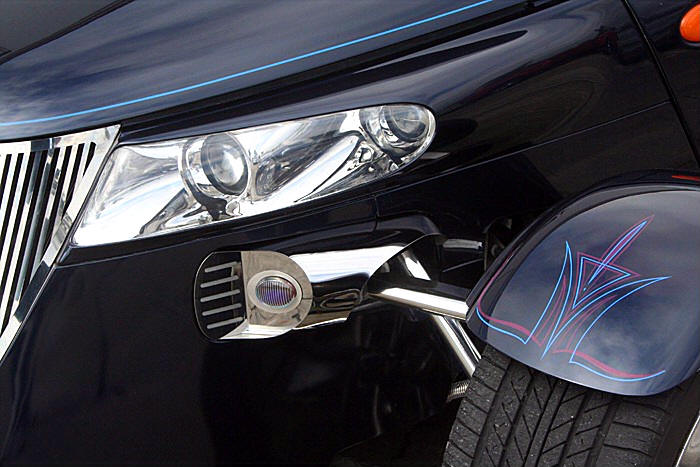
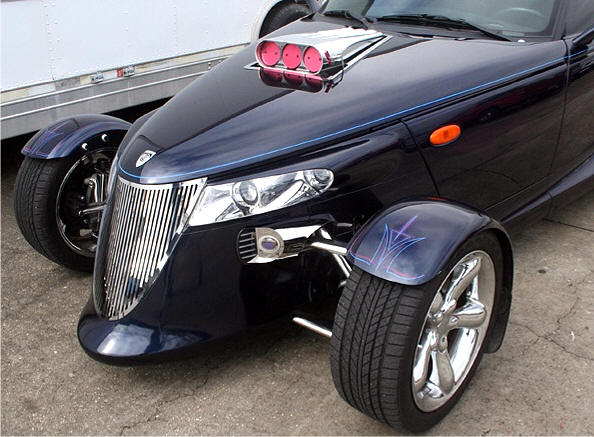
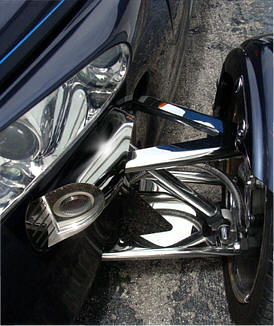
NEW! These new upgrades were the highlight of the car show. These all-stainless steel bumper removal fairings are highly polished and pair perfectly with your Stainless Steel A-Arm Cover Kit. Add our polished stainless steel A-Arm covers for even more impact!
They beautifully cover the two holes left in your side fenders after removing the front bumpers. Classy yet unobtrusive, they look like factory parts. Each side also includes integrated turn signal lights. Installation is easy with plug-in turn signal wiring.
Easy to install or remove with no damage to your car body. Includes all mounting brackets. Built from stainless steel, they will not rust, stain, or corrode—even in winter snow.
PARTS INCLUDED:
- 1 × Driver Side Turn Signal
- 1 × Passenger Side Turn Signal
- 2 × Wire Harnesses with Bulbs
- 4 × 3/8” × 1” Bolts
- 4 × Fender Washers
- 4 × Locking Nuts
This kit is designed as a replacement turn signal housing for vehicles with the factory front bumper removed.
PROTECTIVE LINER INFORMATION: Your new accessories come with a protective surface liner. Leave this liner in place until installation is complete to prevent fingerprints and scratches.
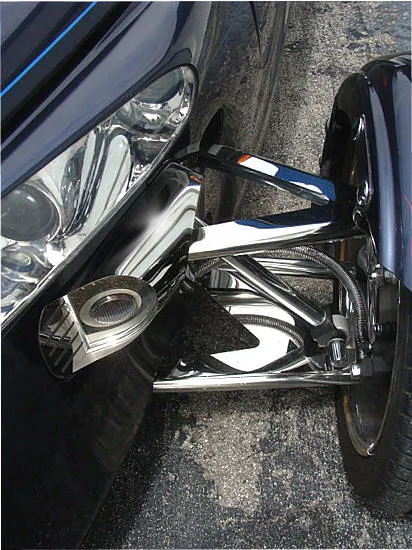
- Place the turn signal fairing into the opening created after removing the front bumpers. Be careful not to let the stainless edges damage your paint. Take a few minutes to inspect the fitment and make any adjustments by hand so that the curve matches the opening. Also note the position of the fairing at the main frame—adjust the mounting tab if necessary. The tab has two large holes that allow you to position the fairing at the right angle for your car body.
- Once aligned, peel away enough of the liner to place the unit without trapping it. Connect the harness quick-connect plug to the vehicle’s receiving end to complete the circuit. With the help of a friend, hold the fairing in position while your friend installs the two nut bolts with large washers, tightening them securely. The washers will secure the unit over the large tab holes.
- Peel off the protective liner to finish the installation. Repeat the process for the opposite side.