|
Page 5 of 5
- Door and Dash Deluxe Trim Kit
Instructions  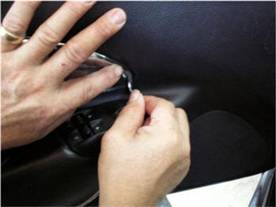 Photo 3 -
Start carefully working the trim around Photo 4 -
Follow the curves as shown.
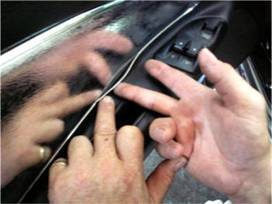
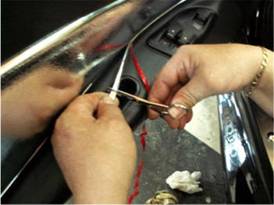
Photo 3 -
Start carefully working the trim around Photo 4 -
Follow the curves as shown.the outer edge of the door panel as shown.
|
TheProwlerStore.com is a Hot Car Accessories, Inc. site